






Are you struggling to figure out the best way to mount your dirt bike in your toy hauler? You’re not alone.
Getting your bike secured quickly and safely can save you time, protect your gear, and make every trip more enjoyable. In this guide, you’ll discover simple steps and expert tips to mount your dirt bike like a pro. Whether you’re new to toy haulers or want to improve your setup, these easy tricks will help you avoid common mistakes and keep your bike stable on the road.
Keep reading to learn how to make your next adventure smooth and stress-free.
Preparing The Toy Hauler
Getting your toy hauler ready to mount your dirt bike is a crucial step that sets the tone for a smooth loading experience. Proper preparation not only protects your equipment but also keeps you safe during the process. Let’s look at how you can prepare your toy hauler efficiently before you bring your dirt bike inside.
Choosing The Right Location
Pick a flat, stable surface to park your toy hauler. Uneven ground can cause balance issues, making it harder and riskier to load your dirt bike. Ideally, find a spot with enough room around the hauler for easy maneuvering and unloading.
Think about the lighting too. Loading in daylight or using strong portable lights helps you see obstacles clearly. Have you ever tried loading in the dark and wished you’d picked a better spot?
Cleaning And Inspecting The Ramp
Before you roll your dirt bike up, give the ramp a thorough cleaning. Dirt, grease, or debris can cause your bike to slip, leading to accidents. Use a stiff brush or pressure washer to remove anything that could reduce traction.
After cleaning, inspect the ramp for any damage like cracks, loose bolts, or rust. These issues can compromise the ramp’s strength. Fixing small problems early can save you from major headaches when you’re ready to load.
Securing The Hauler Stability
Make sure your toy hauler is locked in place and won’t move during loading. Use wheel chocks on both sides of the tires to prevent rolling. If you have stabilizer jacks, lower them to steady the hauler further.
Have you noticed how even slight movements can make loading tricky? Securing the hauler firmly eliminates that problem and gives you confidence as you mount your bike inside.
Gathering Essential Equipment
Gathering the right equipment makes loading your dirt bike easy and safe. Preparation helps avoid damage to the bike and toy hauler. Having everything ready speeds up the process and reduces stress.
Loading Ramps And Tie-down Straps
Choose sturdy loading ramps that support your bike’s weight. Check the ramp’s length and width for a smooth ride up. Use high-quality tie-down straps to keep the bike steady during travel. Look for straps with strong hooks and ratchets for tight securing.
Safety Gear And Tools
Wear gloves and boots to protect your hands and feet. Keep a helmet on while loading for extra safety. Have basic tools like wrenches and screwdrivers ready for quick adjustments. A flashlight helps if you load in low light.
Checking Tire Pressure And Fluids
Check the tire pressure before loading to avoid flats on the road. Inflate tires to the recommended PSI found in the bike manual. Inspect oil, coolant, and brake fluids to ensure proper levels. Top up any fluids that are low to keep the bike running well.
Positioning The Dirt Bike
Positioning the dirt bike correctly is key to safe and easy mounting into a toy hauler. Proper alignment and control keep the bike steady and prevent damage. Focus on clear, smooth movements as you guide the bike up the ramp. Small adjustments can make a big difference in balance and placement.
Aligning The Bike With The Ramp
Start by lining up the bike straight with the ramp. Check the wheels are centered on the ramp’s surface. Keep the front wheel pointing forward and steady. Avoid sharp turns or sudden moves at this stage. Slow and steady alignment helps the bike roll up smoothly. Use the ramp’s edges as a guide for positioning.
Starting And Balancing Techniques
Use a low gear and gentle throttle to begin moving up the ramp. Keep the clutch smooth to avoid jerks. Sit upright and lean slightly forward for better balance. Keep your feet on the foot pegs to maintain control. Use your legs to absorb small bumps and keep the bike steady. Take your time to avoid slipping or tipping.
Assistance And Spotting
Having another person helps greatly during mounting. A spotter can guide you and watch for hazards. They can hold the bike steady if it starts to lean. Clear communication between rider and spotter is important. Use simple signals or words to coordinate moves. Assistance reduces stress and makes the process safer.
Credit: www.goldwingfacts.com
Loading The Dirt Bike Safely
Loading a dirt bike into a toy hauler requires care and attention. Safety is key to avoid damage and injury. Follow simple steps to keep the process smooth and secure. Proper loading protects your bike and your hauler during travel.
Riding Up The Ramp
Check the ramp angle before riding up. A gentle slope makes loading easier and safer. Keep a steady speed and balance on the bike. Avoid sudden moves or sharp turns on the ramp. Always wear a helmet and protective gear while loading.
Avoiding Common Mistakes
- Do not rush the loading process.
- Ensure the ramp is clean and free of debris.
- Check tire pressure on the dirt bike before loading.
- Avoid leaning the bike too far to one side.
- Secure the bike immediately after loading.
Using A Winch Or Lift If Needed
Use a winch for heavy or hard-to-mount bikes. Attach the winch securely to the bike’s frame. Pull slowly and guide the bike up the ramp. A lift can help if riding up is risky or impossible. Always follow the manufacturer’s instructions for these tools.
Securing The Dirt Bike Inside
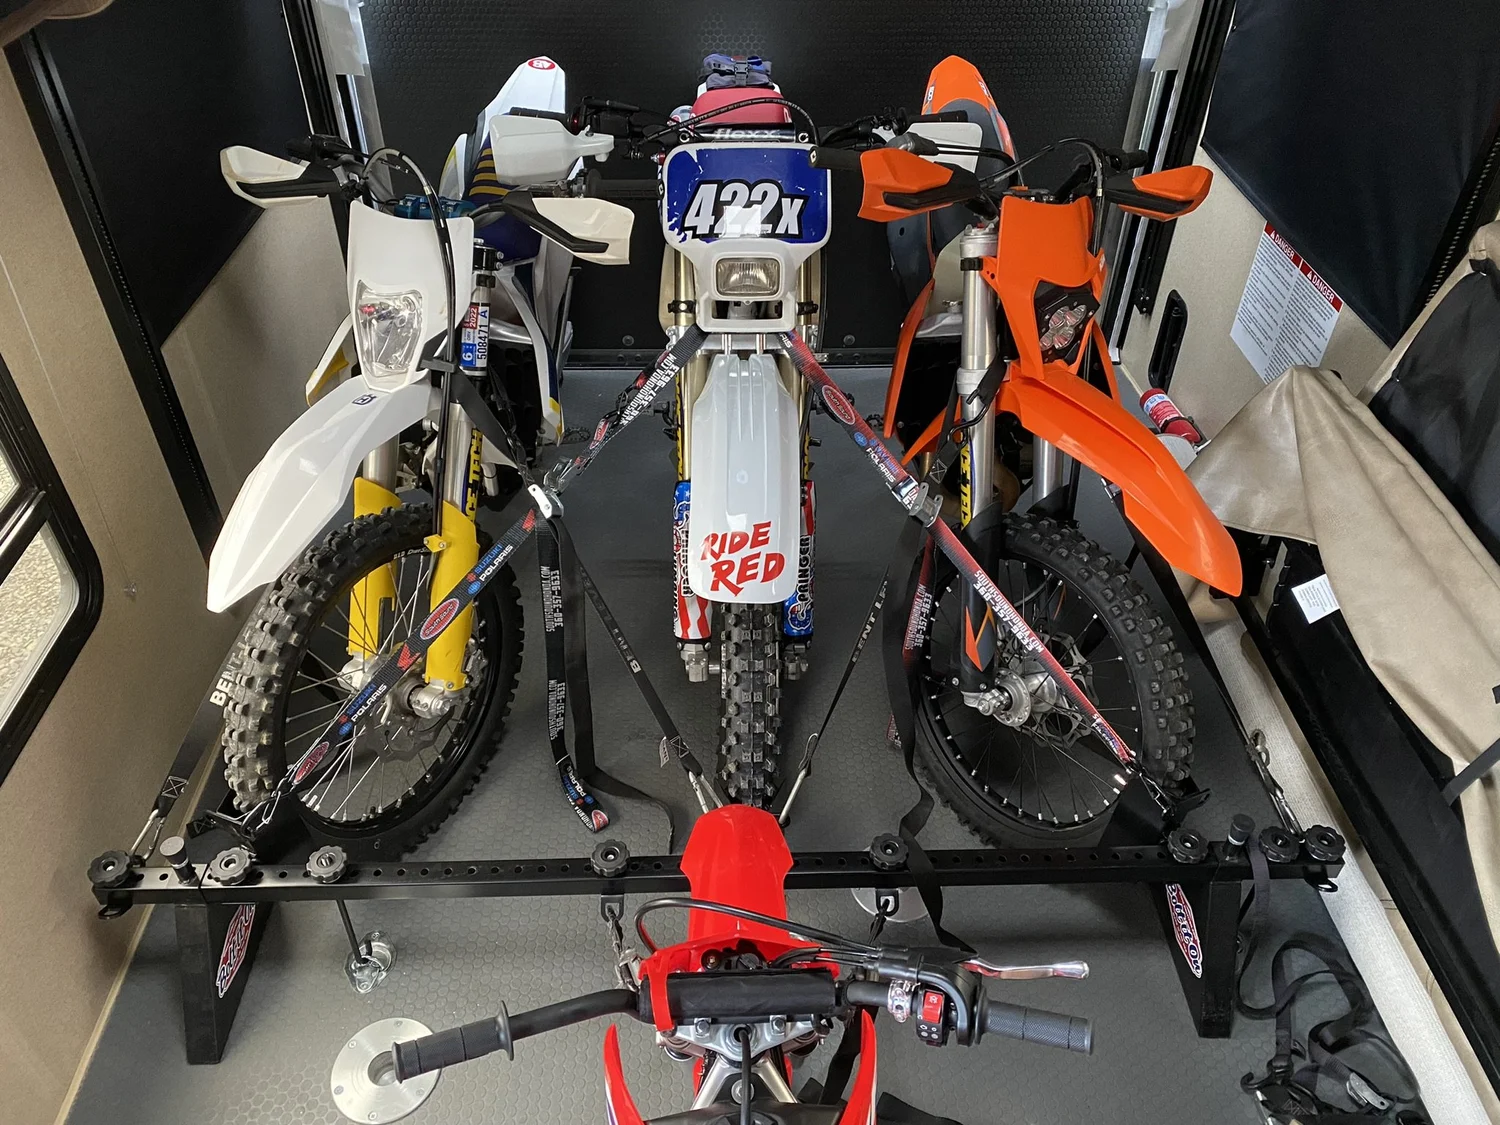
Secure the dirt bike by using strong straps and tie-down points inside the toy hauler. Ensure the bike is stable to prevent movement during travel. Proper mounting keeps both the bike and trailer safe on the road.
Choosing Anchor Points
Select strong anchor points within the toy hauler. These points should be capable of holding the bike’s weight. Look for factory-installed hooks or loops. They provide reliable anchor points. Avoid weak or makeshift points. They can fail during transit.Proper Use Of Tie-down Straps
Use high-quality tie-down straps for security. Loop them through the bike’s frame. Ensure they are tight and secure. Use at least four straps, one for each corner. This will stabilize the bike from all sides. Avoid over-tightening to prevent damage.Double-checking Stability
Inspect the bike’s stability before departure. Push gently on the bike to test movement. The bike should not sway or shift. Re-adjust straps if necessary. Make sure all connections are secure. A final check ensures safe travel for your dirt bike.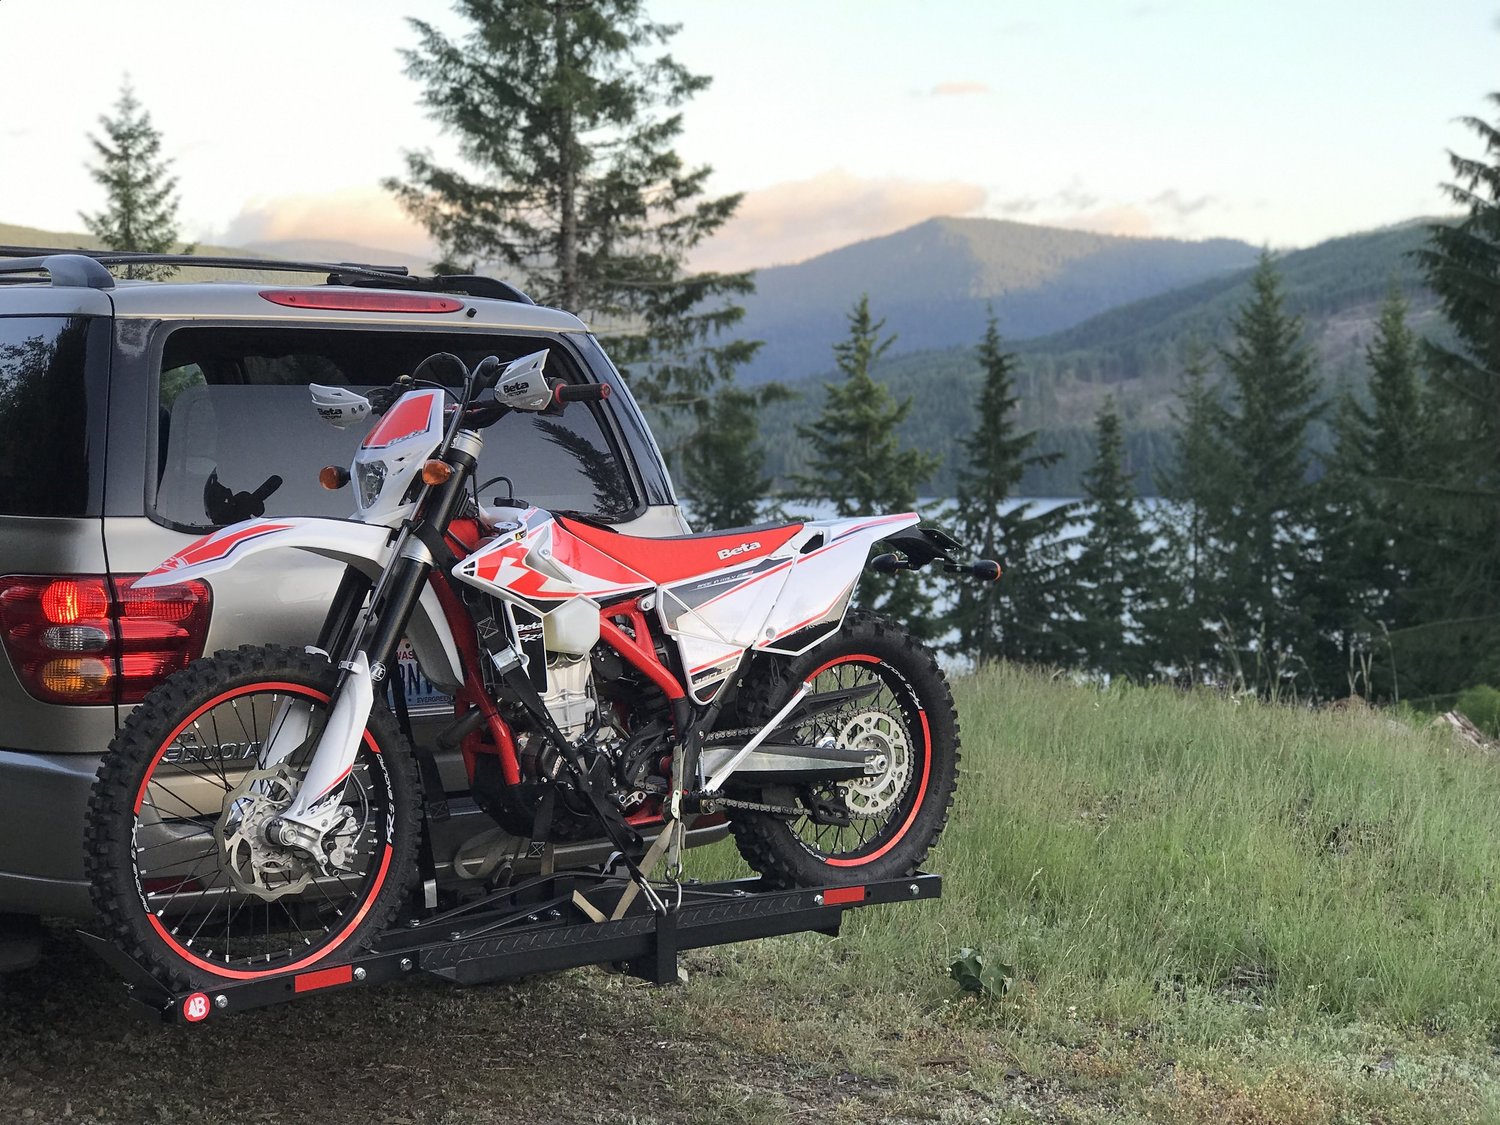
Credit: www.builtbike.com
Final Safety Checks
Final safety checks are essential to ensure your dirt bike stays secure and your journey remains smooth. Overlooking small details can lead to costly damage or dangerous situations on the road. Taking a few extra minutes to inspect and adjust can save you from headaches later.
Inspecting The Bike And Hauler
Start by examining your dirt bike for any loose parts or damage. Check the tires, handlebars, and footpegs to make sure everything is tight and in good condition. Then, look over the toy hauler’s interior, focusing on the tie-down points and floor integrity.
Have you ever had a strap snap mid-trip? That usually happens because the anchor points weren’t secure enough. Confirm that all tie-down hooks and straps are firmly attached and show no signs of wear.
Adjusting For Transport Conditions
Consider the length of your trip and road conditions before finalizing your setup. If you expect rough roads, add extra padding around the bike to protect it from vibrations. Tighten your straps just enough to hold the bike steady without damaging the frame or suspension.
It’s easy to overtighten and cause harm, or leave things too loose. How do you find the balance? A good test is to gently shake the bike; it should barely move.
Preparing For Departure
Before hitting the road, walk around your hauler and double-check everything. Verify that doors and ramps are securely closed and locked. Don’t forget to check your bike’s fuel level and battery connection for any last-minute issues.
Have a checklist handy for this final step to avoid rushing. The peace of mind from a thorough final check makes the ride more enjoyable and safe.

Credit: www.builtbike.com
Frequently Asked Questions
How Do I Safely Load A Dirt Bike Into A Toy Hauler?
Use a sturdy ramp for loading your dirt bike into the toy hauler. Secure the bike with strong tie-down straps to prevent movement. Check the ramp’s stability and ensure the hauler floor can support the bike’s weight before loading.
What Equipment Is Needed To Mount A Dirt Bike In A Toy Hauler?
You need a reliable ramp, heavy-duty tie-down straps, and wheel chocks. These tools help secure the bike and prevent shifting during transport. Always double-check the equipment for safety and durability before use.
Can I Mount Multiple Dirt Bikes In One Toy Hauler?
Yes, you can mount multiple bikes if your toy hauler has enough space and tie-down points. Arrange bikes carefully to avoid damage, and use enough straps for each bike. Proper spacing and securing are essential for safe transport.
How Do I Prevent Dirt Bike Damage During Transport?
Use soft straps and padded tie-downs to avoid scratches. Secure the bike tightly to prevent movement. Avoid placing heavy items on the bike and keep it clean to reduce wear during transport.
Conclusion
Mounting your dirt bike in a toy hauler is simple with the right steps. Secure the bike firmly to avoid movement during travel. Use straps and anchors designed for heavy loads. Check the bike and trailer before each trip for safety.
Proper loading saves space and protects your bike. Follow these tips for a smooth and safe ride. Enjoy your adventures with confidence and peace of mind.