






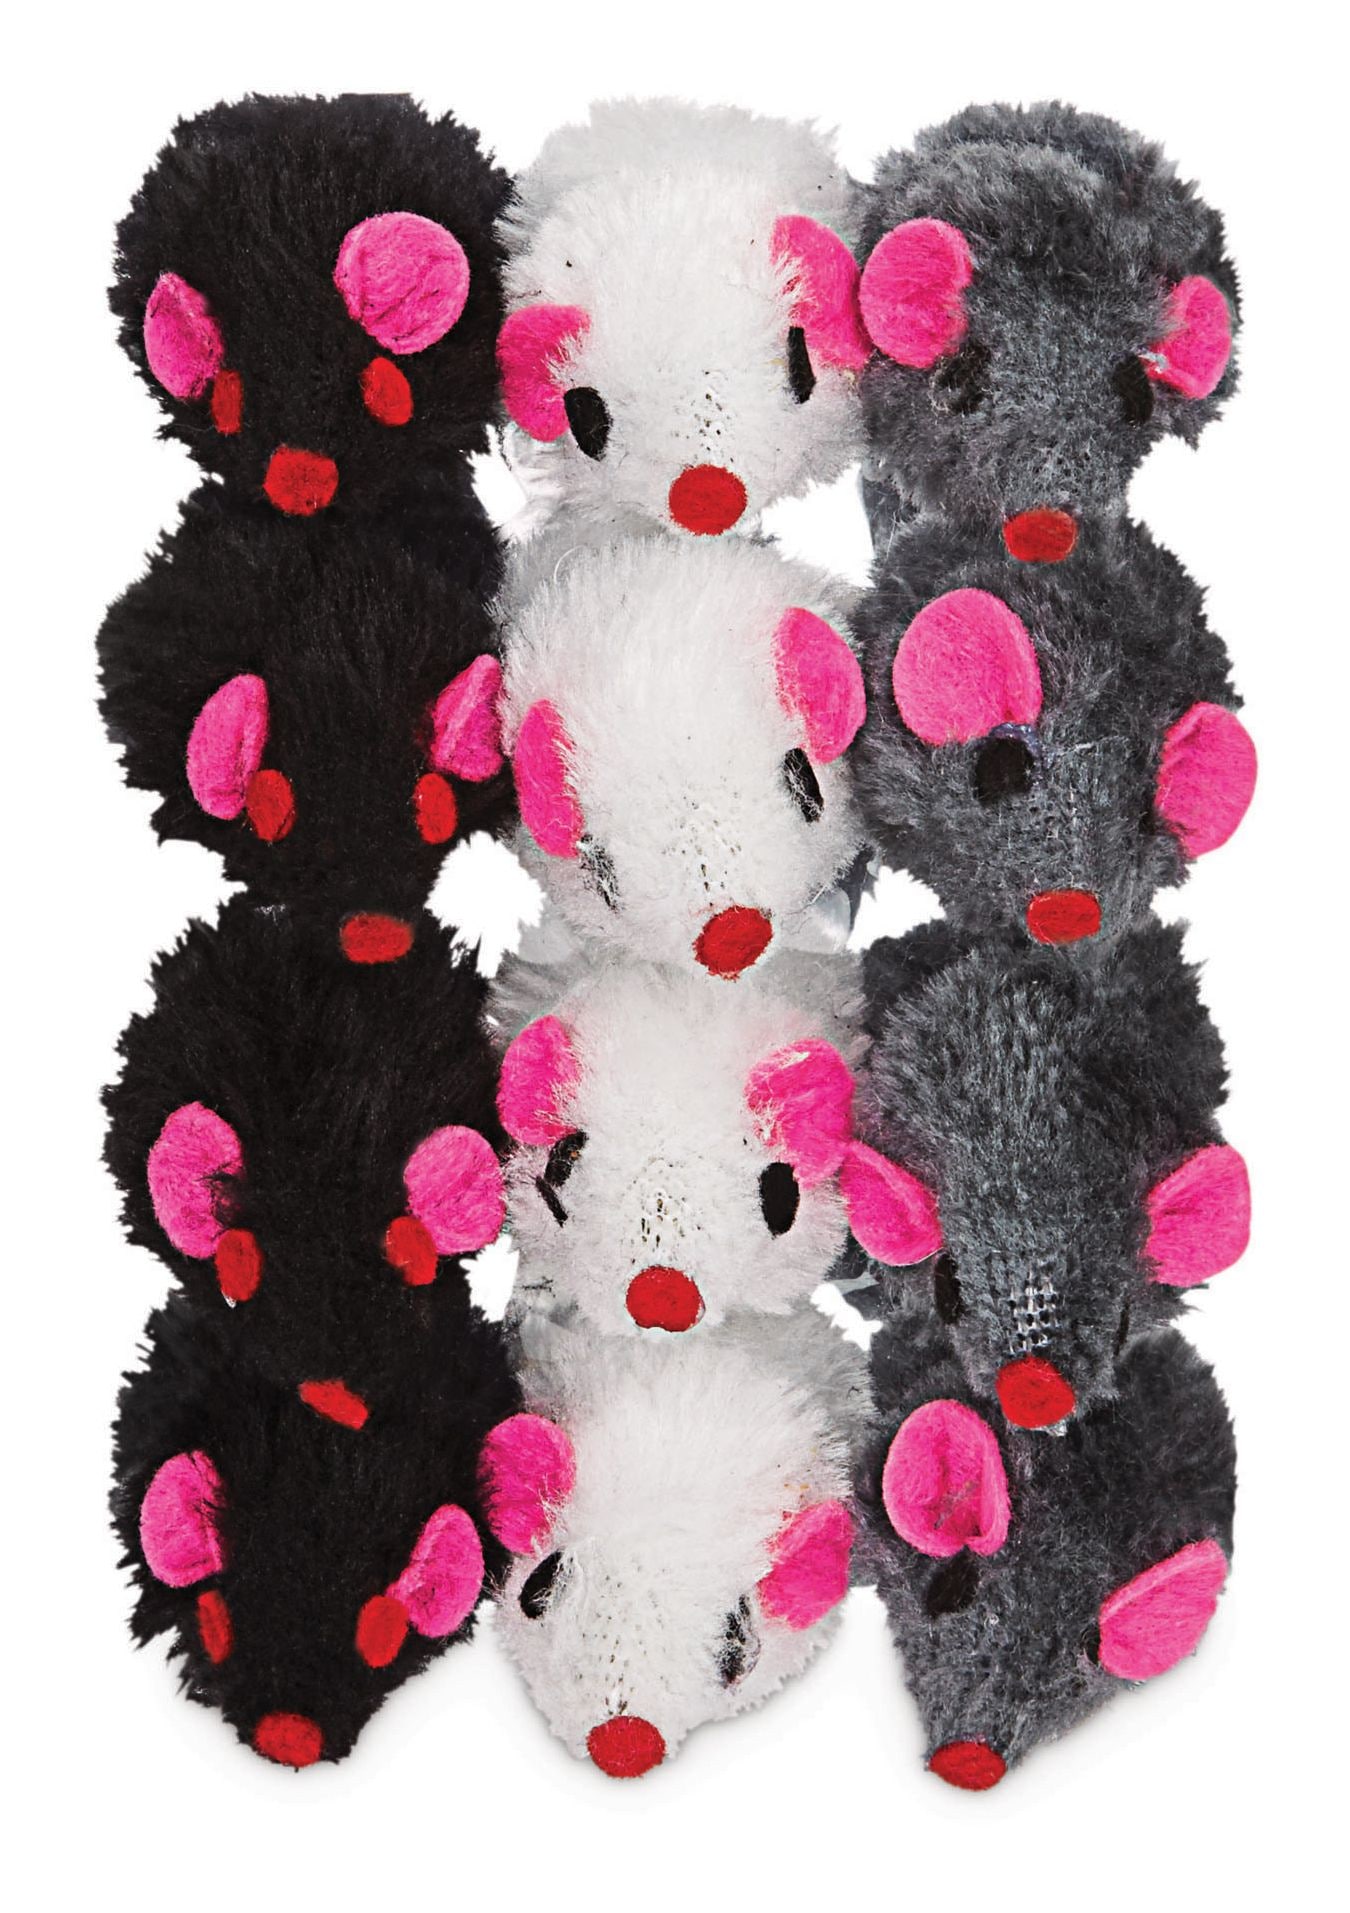
Have you ever found your favorite toy ruined by a mouse’s sharp teeth? It’s frustrating to see something you love damaged so quickly.
But don’t worry—you can fix those chewed-up toys and make them look almost new again. You’ll learn simple, effective ways to repair mouse-chewed items. By the end, you’ll have the confidence to bring your toys back to life and keep them safe from future damage.
Ready to save your toys? Let’s get started!
Assessing The Damage
Assessing the damage is the first key step in repairing mouse-chewed toys. It helps to understand how severe the damage is and what repairs are needed. Careful examination saves time and effort during the fixing process.
Identifying Chewed Areas
Look closely at the toy to find all the chewed spots. These areas often have rough edges or missing pieces. Check both big and small tears. Some damage may be hidden inside folds or seams. Mark these spots with a washable marker or small sticker for easy reference.
Evaluating Material Type
Know what material the toy is made of before fixing it. Common materials include fabric, rubber, plastic, and foam. Each material needs a different repair method and glue type. For example:
- Fabric: Needs sewing or fabric glue.
- Rubber: Requires strong adhesive or patching.
- Plastic: May need special plastic glue or tape.
- Foam: Can be glued with foam-safe adhesive.
Understanding the material helps choose the best repair tools and techniques.
Gathering Repair Supplies
Gathering the right supplies is the first step to bringing your mouse-chewed toys back to life. Without proper tools and materials, repairs can become frustrating and less durable. You want your fixes to last, so having everything on hand before you start saves time and hassle.
Recommended Tools And Materials
Start by collecting basic tools like small scissors, tweezers, and a fine needle. These help you trim frayed edges and carefully sew or glue small parts back together. You’ll also need some soft cloth or cotton balls to clean the toy before repair.
Materials vary depending on the toy’s fabric and damage. Keep patches of similar fabric, thread matching the toy’s color, and stuffing to fill any holes. Having a small pair of pliers and clamps can help hold pieces in place while glue dries.
- Small scissors for trimming
- Tweezers for precise handling
- Needle and thread matching the toy’s color
- Fabric patches similar to the original material
- Stuffing to fill holes
- Soft cloth or cotton balls for cleaning
- Pliers and clamps for holding parts
Safe Adhesives For Toys
Choosing the right adhesive is crucial for a safe and sturdy repair. Avoid harsh chemicals that could harm your pet. Look for non-toxic, pet-safe glues designed for fabric or toy repairs.
Hot glue can work well but be careful to apply it sparingly and let it cool completely before giving the toy back. Fabric glue is a gentler option that dries clear and flexible. You might also find specialized pet toy adhesives online, which are made with safety in mind.
- Non-toxic fabric glue
- Pet-safe toy adhesives
- Hot glue (used carefully)
Have you ever tried fixing a toy with the wrong glue and ended up with a sticky mess? Picking the right adhesive not only protects your pet but also keeps the repair intact much longer. What kind of glue do you usually trust for small repairs?
Cleaning The Toy Before Repair
Cleaning the toy before repair is essential. It helps to remove dirt and germs. A clean toy makes the repair last longer. It also keeps your pet safe from infections. Take time to clean carefully. Focus on all damaged and chewed areas.
Removing Dirt And Debris
Start by brushing off loose dirt and small debris. Use a soft brush or cloth. Avoid harsh scrubbing that can cause more damage. For stubborn dirt, use a mild soap and warm water. Dip a cloth in the soapy water and gently wipe the toy. Rinse with clean water and pat dry with a towel. Make sure the toy is completely dry before moving on.
Sanitizing Chewed Parts
Sanitize the chewed areas to kill bacteria and germs. Use a pet-safe disinfectant spray or a vinegar solution. Spray lightly and let it sit for a few minutes. Wipe off any excess with a clean cloth. Avoid strong chemicals that can harm your pet. Let the toy air dry fully in a well-ventilated area. This step helps keep your pet healthy after repairs.

Credit: www.amazon.com
Simple Repair Techniques
Simple repair techniques can save your mouse-chewed toys from the trash and bring them back to life. You don’t need fancy tools or special skills. With a few straightforward fixes, you can restore the look and function of your child’s favorite playthings.
Patching Fabric And Plush Toys
Fabric and plush toys often suffer from torn seams or holes caused by mouse teeth. To fix these, gather a needle, thread matching the toy’s color, and a small patch of similar fabric if needed.
Start by trimming any loose threads or stuffing around the damaged area. Then, use a simple whip stitch or ladder stitch to sew the hole closed. If the tear is large, place a patch behind the hole before stitching to reinforce the area.
Adding a patch not only strengthens the toy but also prevents future damage. Have you ever noticed how a well-placed patch can even add character to a worn toy? It’s a quick fix that keeps memories alive.
Fixing Hard Plastic Toys
Hard plastic toys require a different approach because fabric glue won’t hold. Small chew marks can be smoothed out using fine-grit sandpaper. This removes rough edges and restores the surface.
If cracks or breaks are present, use a strong adhesive designed for plastic, like cyanoacrylate (super glue). Apply a small amount to the broken edges, press them together, and hold until the glue sets.
For extra durability, reinforce the repair with clear tape on the inside or underside of the toy. Does your child’s favorite plastic toy have a hidden crack? This trick might just save it without obvious repair marks.
Repairing Wooden Toys
Wooden toys chewed by mice often show bite marks or small chunks missing. Start by sanding the damaged spots lightly to smooth out splinters. Use wood filler to fill in holes or gaps, then let it dry completely.
Once dry, sand the filled area again so it’s flush with the rest of the toy. You can repaint or apply a non-toxic finish to match the original look. This not only restores appearance but protects the wood from further damage.
Have you tried combining sanding and wood filler on a toy? It’s amazing how these simple steps make wooden toys safe and sturdy again, ready for many more playtimes.
Preventing Future Damage
Protect toys with bitter sprays or cover them in protective tape to stop chewing. Offer safe chew toys to keep pets busy and away from others. Regularly check toys for damage and replace them quickly to avoid bigger problems.
Preventing damage to toys is crucial for their longevity. Repairing them can be time-consuming and costly. Implementing preventive measures ensures that toys remain intact and safe for children.Deterring Mice From Toys
Mice are often attracted to toys due to food remnants. Ensure toys are free from crumbs or spills. Regular cleaning can deter mice from viewing toys as food sources. Use natural repellents like peppermint oil around storage areas. Seal any entry points in your home where mice might enter. Traps or electronic repellents can also help keep mice at bay.Safe Storage Tips
Store toys in airtight containers to prevent mouse access. Clear, plastic bins are ideal for visibility and protection. Keep toys off the floor and on shelves when possible. Ensure storage areas are dry to avoid attracting pests. Regularly inspect storage spaces for signs of mice activity. Consider using storage bags with zippers for plush toys. These can add an extra layer of protection.
Credit: www.walmart.ca
When To Replace Instead Of Repairing
Deciding whether to repair or replace a mouse-chewed toy can be tricky. Sometimes, a quick fix is all it needs to extend the toy’s life. Other times, the damage is too extensive, and replacing the toy is the smarter choice.
Assessing Repair Feasibility
Start by examining the extent of the damage. Is the toy torn only on the surface, or are the inner parts shredded?
Check if you can safely sew or glue the damaged area without compromising the toy’s structure. If the stuffing is intact and no small parts are loose, repairs usually work well.
Also, consider the type of material. Some fabrics or plastics don’t hold repairs well and might unravel quickly after fixing.
Ask yourself: Will the repair make the toy safe and enjoyable for your pet again? If not, repairing might waste your time.
Knowing When To Let Go
If the toy is heavily damaged, with stuffing spilling out or parts missing, it’s time to replace it. Toys with exposed stuffing can be dangerous if ingested.
Sometimes, the cost and effort of repair outweigh the price of a new toy. Your pet’s safety should always come first.
Think about how your pet uses the toy. If it’s a favorite that gets heavy play, a new, sturdier version may save you more headaches.
Would you feel confident giving the repaired toy back to your pet? If the answer is no, it’s best to let go and find a fresh replacement.

Credit: www.reddit.com
Frequently Asked Questions
How Can I Fix A Mouse-chewed Toy Quickly?
To fix a mouse-chewed toy quickly, clean the damaged area first. Use strong fabric glue or sew the torn parts. For stuffing loss, add new stuffing. Let the glue dry completely before use to ensure durability and safety for your pet.
What Materials Are Best For Repairing Chewed Toys?
Strong fabric glue, needle, and thread are best for repairing chewed toys. Use stuffing material to refill any holes. Choose durable, pet-safe adhesives and fabrics to ensure the repair lasts and is safe for your pet to play with.
How Do I Prevent Mice From Chewing Toys Again?
Store toys in sealed containers or shelves to prevent mice access. Clean the area regularly and use natural repellents like peppermint oil. Regularly inspect toys for damage and replace or repair them promptly to avoid further chewing.
Can All Types Of Toys Be Repaired After Mouse Damage?
Most fabric and soft toys can be repaired using glue or sewing. Hard plastic or electronic toys may need professional repair or replacement. Assess the damage and toy type before attempting a repair for safety and effectiveness.
Conclusion
Repairing mouse-chewed toys is simple and saves money. Use basic tools like glue and scissors carefully. Check the toy for damage before fixing it. Small repairs can make toys safe and fun again. Keep toys away from mice to avoid more damage.
Regularly inspect toys to catch problems early. Fixing toys helps the environment by reducing waste. Enjoy your repaired toys longer with these easy steps. Try these tips to bring life back to old toys.