



If your child’s toy bike battery is running low, you might wonder how to charge it safely and quickly at home. You don’t need special tools or complicated steps to get your little one back on the road.
You’ll discover simple, easy-to-follow tips that anyone can use to charge a toy bike battery the right way. By the end, you’ll feel confident handling the battery and keeping the fun going without delay. Ready to learn how? Let’s dive in!

Credit: www.amazon.in
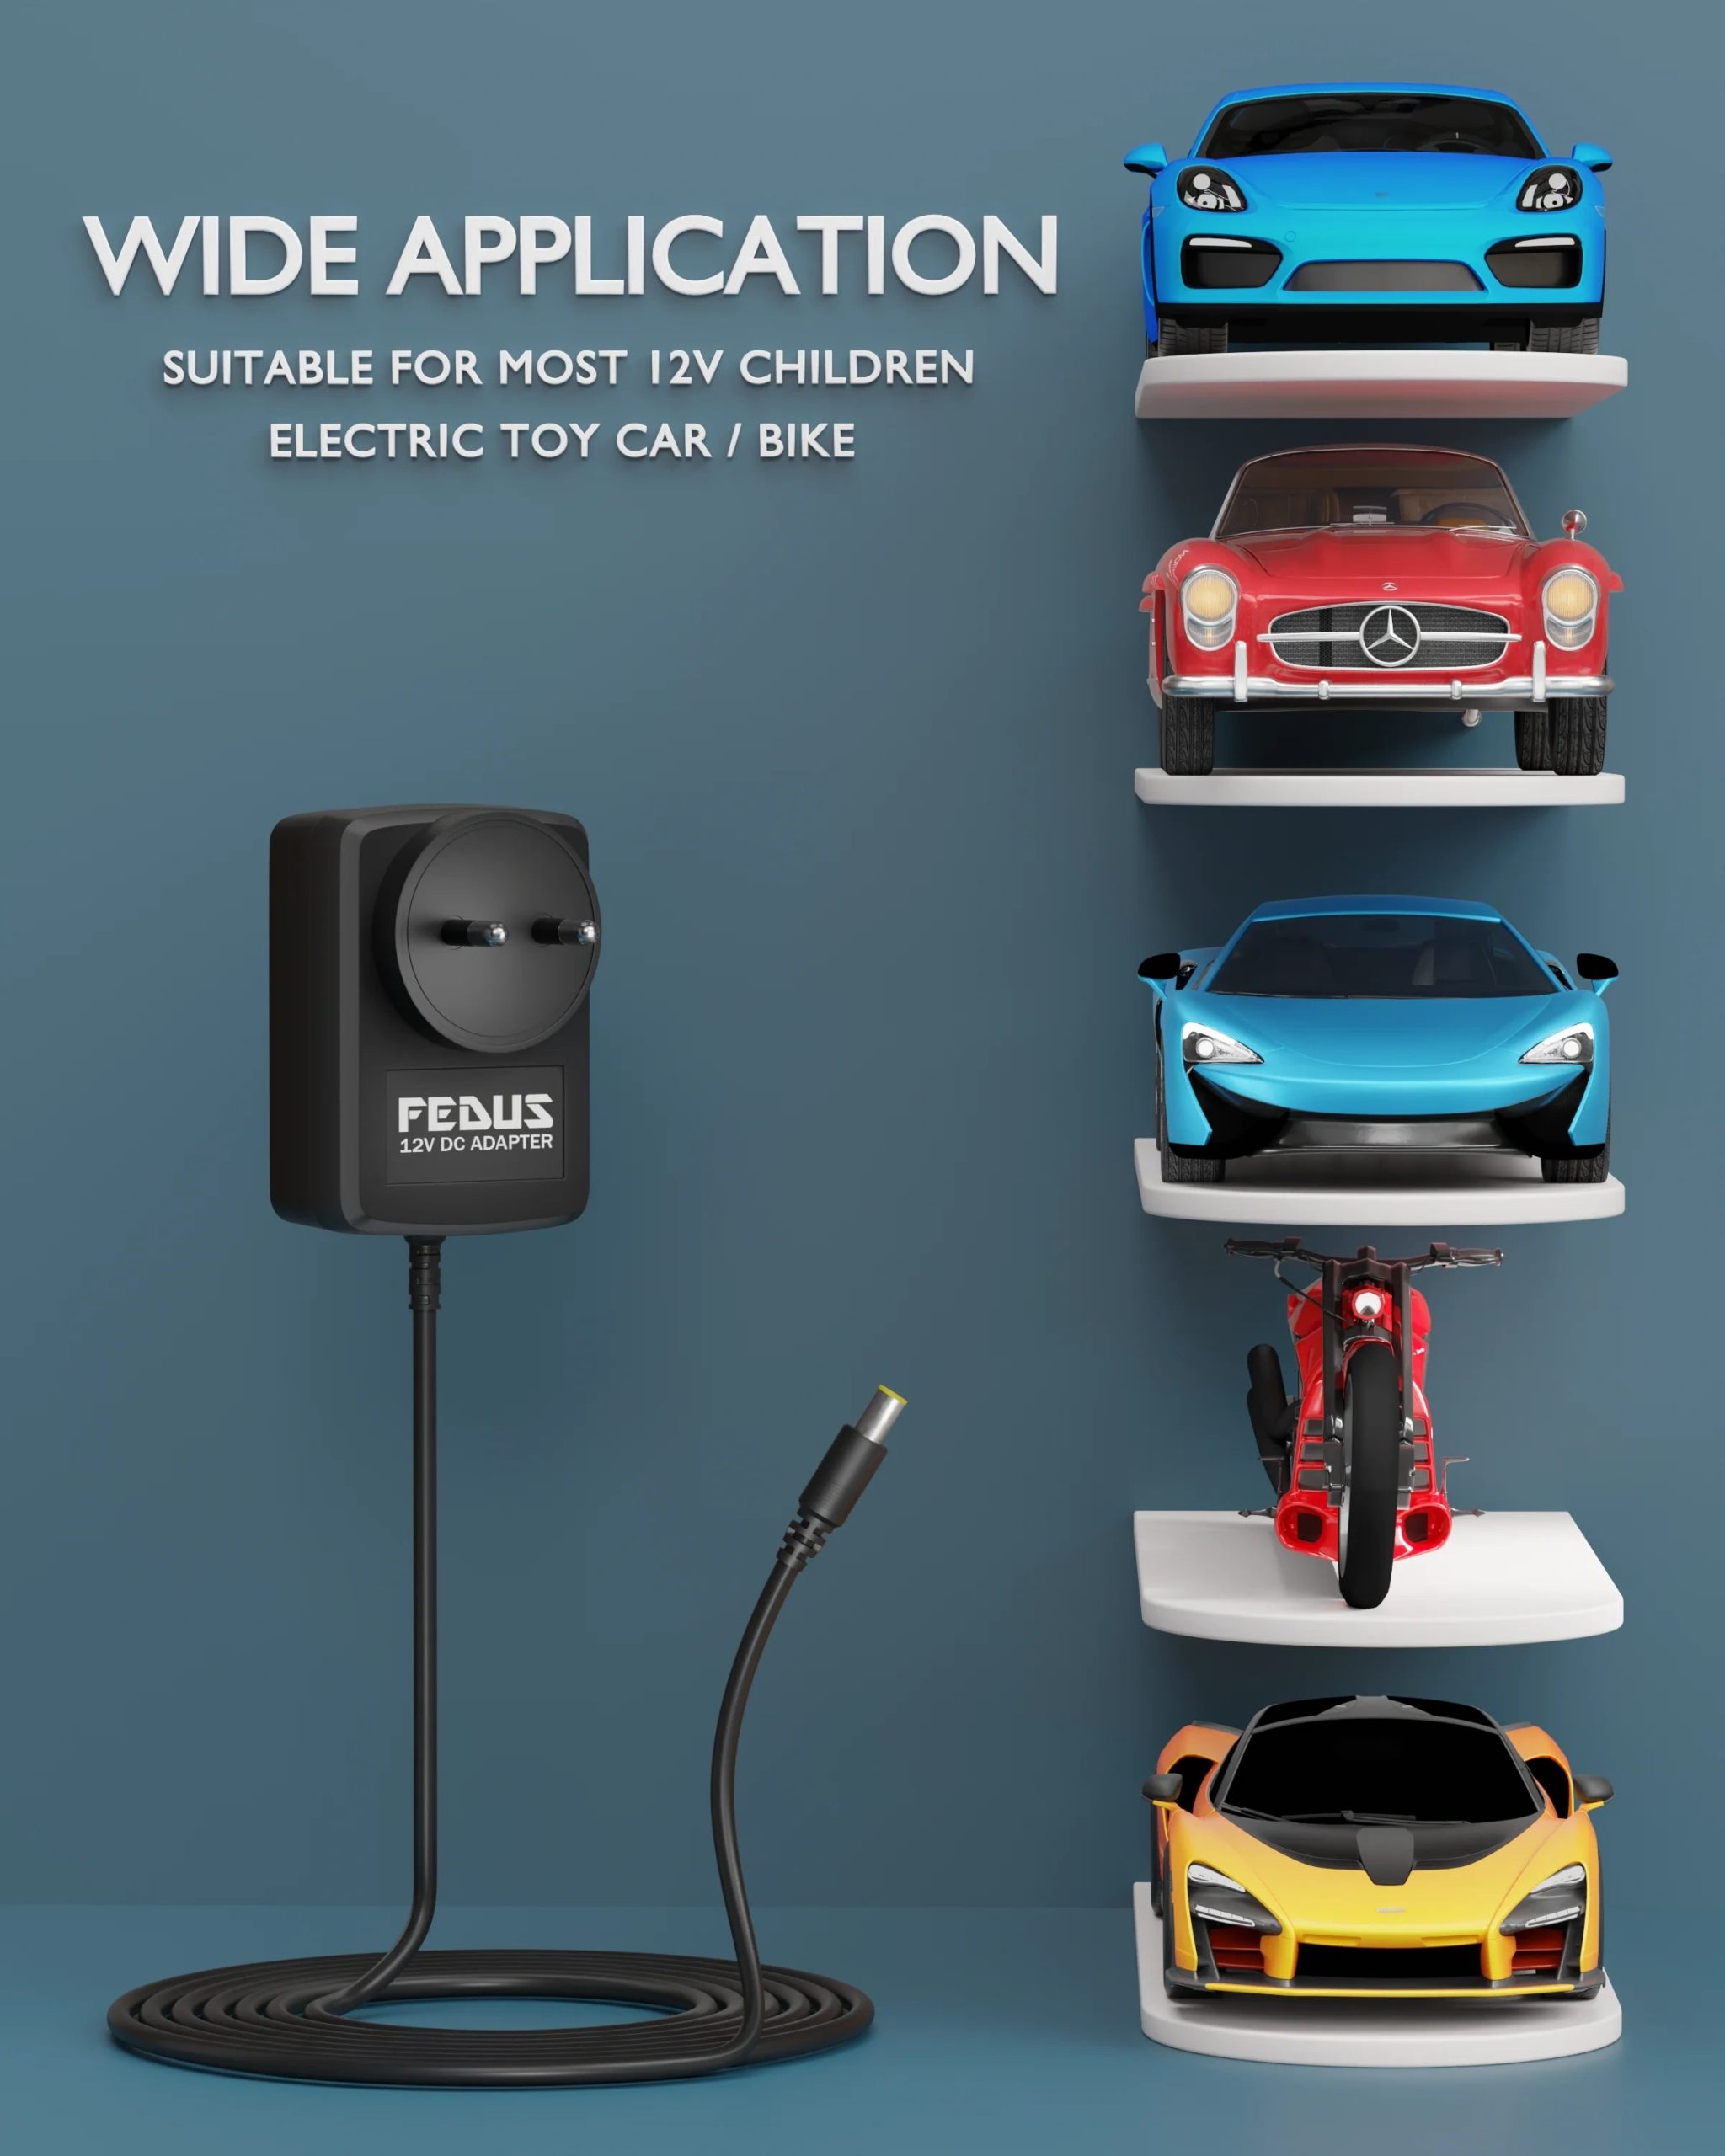
Choosing The Right Charger
Choosing the right charger for a toy bike battery is important. The wrong charger can damage the battery or reduce its life. A suitable charger ensures safe and efficient charging. It helps keep the battery healthy and working longer.
Understanding the types of chargers and matching them with the battery type is key. This knowledge prevents problems and keeps the toy bike ready to use.
Types Of Toy Bike Chargers
- Standard Chargers:Basic chargers that provide a constant current. They are simple and affordable.
- Smart Chargers:These chargers adjust the current automatically. They prevent overcharging and extend battery life.
- Trickle Chargers:Deliver a low current to maintain the battery. Ideal for long-term storage.
- Fast Chargers:Charge the battery quickly but need careful use. Not all batteries support fast charging.
Matching Charger To Battery Type
Identify the battery type before choosing a charger. Common toy bike batteries include lead-acid and lithium-ion.
| Battery Type | Recommended Charger | Notes |
|---|---|---|
| Lead-Acid | Smart or Standard Charger | Use a charger with voltage control to avoid damage. |
| Lithium-Ion | Smart Charger | Must have built-in protection to prevent overcharging. |
Always check the voltage and current ratings on both battery and charger. Match these to avoid mismatch and ensure safety.
Preparing The Battery For Charging
Preparing your toy bike battery before charging is crucial for safety and to ensure the battery charges efficiently. Taking a few simple steps can prevent damage to the battery and extend its lifespan. Let’s look at how to get your battery ready for a smooth charging experience.
Removing The Battery Safely
Before charging, always remove the battery from the toy bike carefully. This avoids any accidental short circuits or damage to the bike’s electrical system.
Make sure the bike is turned off and unplugged from any power source. Use your hands to gently disconnect the battery connectors, avoiding any pulling on wires.
If your battery is secured with screws or clips, use the appropriate tools to loosen them without forcing. Have you noticed how a gentle touch often prevents unexpected breaks?
Inspecting Battery Condition
Once removed, check the battery’s condition thoroughly. Look for any signs of swelling, cracks, or leaks, which are warnings that the battery could be unsafe to charge.
Also, examine the terminals for corrosion or dirt. Clean terminals with a soft cloth or a small brush if needed to ensure good contact during charging.
Ignoring these signs can lead to poor charging performance or even hazards. Have you ever charged a battery without checking first and faced trouble? Taking this moment to inspect can save you from that hassle.
Step-by-step Charging Process
Charging your toy bike battery at home is simpler than many think. A clear, step-by-step approach helps you avoid common mistakes and keeps your battery in great shape. Let’s break down the process into easy parts to make sure your toy bike powers up safely and efficiently every time.
Connecting Charger To Battery
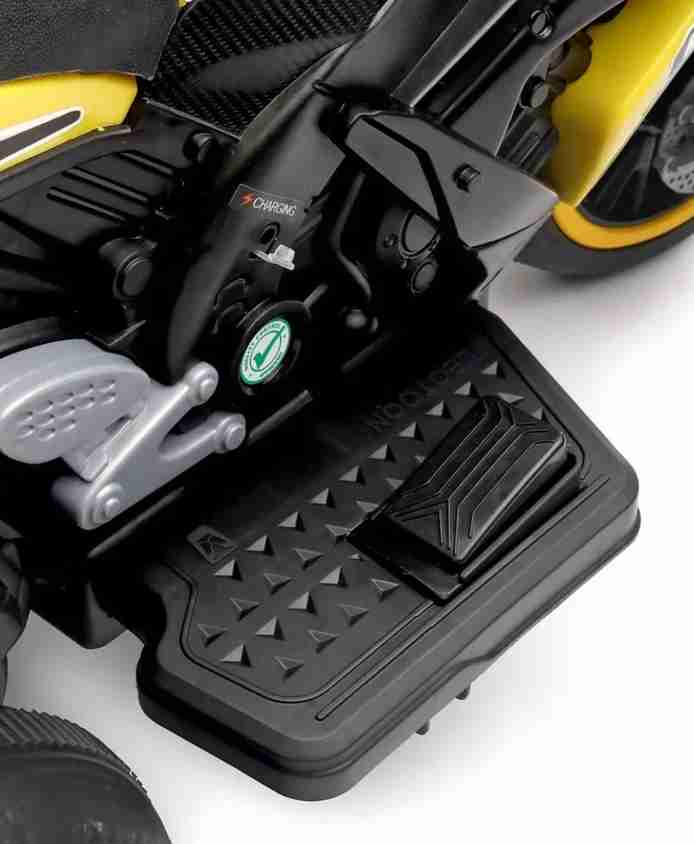
Start by placing your toy bike on a flat surface. Locate the battery compartment, usually under the seat or near the footrest. Carefully open it and find the battery terminals.
Match the charger’s connectors to the battery terminals—red to positive (+) and black to negative (–). Ensure the connections are tight but don’t force them. Loose connections can cause incomplete charging or damage.
Setting Charging Time
Check the charger’s instructions or the battery label to know the recommended charging time. Most toy bike batteries take between 8 to 12 hours for a full charge.
Set a timer or alarm to remind you when to stop charging. Overcharging can reduce your battery’s life, so it’s important to stick to the advised charging duration.
Monitoring The Charging Progress
While the battery charges, keep an eye on the charger’s indicator lights. A red light usually means charging is in progress, and green means it’s complete.
Occasionally, touch the battery to check for excessive heat. A warm battery is normal, but if it feels hot, disconnect the charger immediately to prevent damage.
Have you noticed your charger behaves differently than expected? Sometimes older chargers or batteries may show unusual signs—don’t ignore these signals, as they could hint at a need for replacement or repair.

Credit: www.amazon.in
Safety Tips During Charging
Charging a toy bike battery at home requires careful attention to safety. Proper handling ensures the battery lasts longer and remains efficient. Here are crucial safety tips to consider during the charging process.
Avoiding Overcharging
Overcharging can damage the battery and reduce its lifespan. Always use a charger with an automatic shut-off feature. Regularly check the battery’s charge status. Unplug the charger once it reaches full capacity. Never leave the battery charging overnight.
Keeping Charging Area Safe
Ensure the charging area is clean and dry. Avoid placing the charger on flammable surfaces. Keep children and pets away from the charging area. Ensure good ventilation to avoid heat build-up.
Handling Battery With Care
Handle the battery gently to prevent damage. Avoid dropping or shaking the battery. Inspect the battery for any leaks or damage before charging. Use only compatible chargers recommended by the manufacturer.
Troubleshooting Common Issues
Troubleshooting common issues while charging your toy bike battery can save you time and frustration. Often, what seems like a serious problem might be a simple fix. Let’s look at some typical challenges and how you can handle them effectively at home.
Battery Not Charging
If your battery refuses to charge, first check the connection points. Dirt or corrosion on the battery terminals can block the flow of electricity. Clean the terminals gently with a soft cloth or a small brush.
Another cause could be a dead battery. If the battery is very old or has been left unused for a long time, it might no longer hold a charge. Try testing with a voltmeter or swapping it with a new battery to see if that resolves the issue.
Charger Problems
Sometimes, the charger itself is the problem. Check if the charger’s indicator light turns on when plugged in. No light often means the charger is faulty or the outlet isn’t working.
Inspect the charger cable for any visible damage like cuts or frays. A damaged cable can prevent proper charging and may even pose safety risks. If possible, test the charger with a different toy bike or battery to confirm its condition.
Battery Life Maintenance
Extending your battery’s life is easier than you think. Avoid letting the battery discharge completely before charging. Frequent full discharges can shorten battery lifespan.
Store the battery in a cool, dry place when not in use. Heat and moisture speed up battery degradation. Also, charge the battery regularly, even if you’re not using the toy bike often, to keep it healthy.
Have you noticed your battery losing power faster than usual? Try keeping a charging log to track how often and how long you charge. This simple step can help you spot patterns and prevent battery damage early.
Storing And Maintaining The Battery
Proper care of your toy bike battery extends its life and boosts performance. Storing and maintaining the battery correctly prevents damage and keeps it ready to use. Simple habits and checks help avoid common battery problems. This section explains how to store and maintain your toy bike battery at home for the best results.
Proper Storage Conditions
Store the battery in a cool, dry place away from direct sunlight. Avoid areas with high temperature or humidity as they can harm the battery. Keep the battery away from metal objects to prevent short circuits. Use the original case or a plastic container for safe storage. Ensure the battery is partially charged before storing it for long periods. Full discharge or full charge storage can reduce battery life.
Regular Battery Checks
Check the battery regularly for any signs of damage or leaks. Look for swelling, cracks, or corrosion on terminals. Clean the battery terminals with a soft cloth to maintain a good connection. Test the battery voltage with a multimeter to confirm proper charge levels. Recharge the battery if the voltage drops below the recommended level. Replace the battery if any damage or performance issues occur to avoid safety risks.
Credit: www.flipkart.com
Frequently Asked Questions
How Do I Safely Charge A Toy Bike Battery At Home?
To safely charge, use the original charger and a dry area. Avoid overcharging by unplugging once full. Monitor the battery temperature to prevent overheating.
How Long Does It Take To Fully Charge A Toy Bike Battery?
Charging time varies but usually takes 6 to 8 hours. Follow the manufacturer’s instructions for exact timing. Avoid charging overnight to prevent battery damage.
Can I Use A Regular Charger For A Toy Bike Battery?
No, use only the charger designed for your toy bike battery. Using the wrong charger can damage the battery or cause safety hazards.
What Precautions Should I Take While Charging The Battery?
Charge on a non-flammable surface and keep away from water. Do not leave the battery unattended during charging. Ensure good ventilation to avoid overheating.
Conclusion
Charging a toy bike battery at home is simple and safe. Always follow the instructions carefully. Use the right charger and keep an eye on the battery. Avoid overcharging to keep the battery healthy. Regular charging helps the bike run longer and better.
With these easy steps, your child’s toy bike will be ready to ride anytime. Safe charging means more fun and less worry. Try these tips and enjoy smooth rides every day.