



Are you looking for a fun and creative way to make something special for your little one? Making a baby block toy can be a simple and rewarding project that brings joy to both you and your child.
Imagine your baby’s eyes lighting up as they explore colorful, safe blocks crafted by your own hands. In this guide, you’ll discover easy steps to create a toy that’s not only entertaining but also helps your baby learn and grow.
Ready to start? Let’s dive into how you can make your very own baby block toy today!
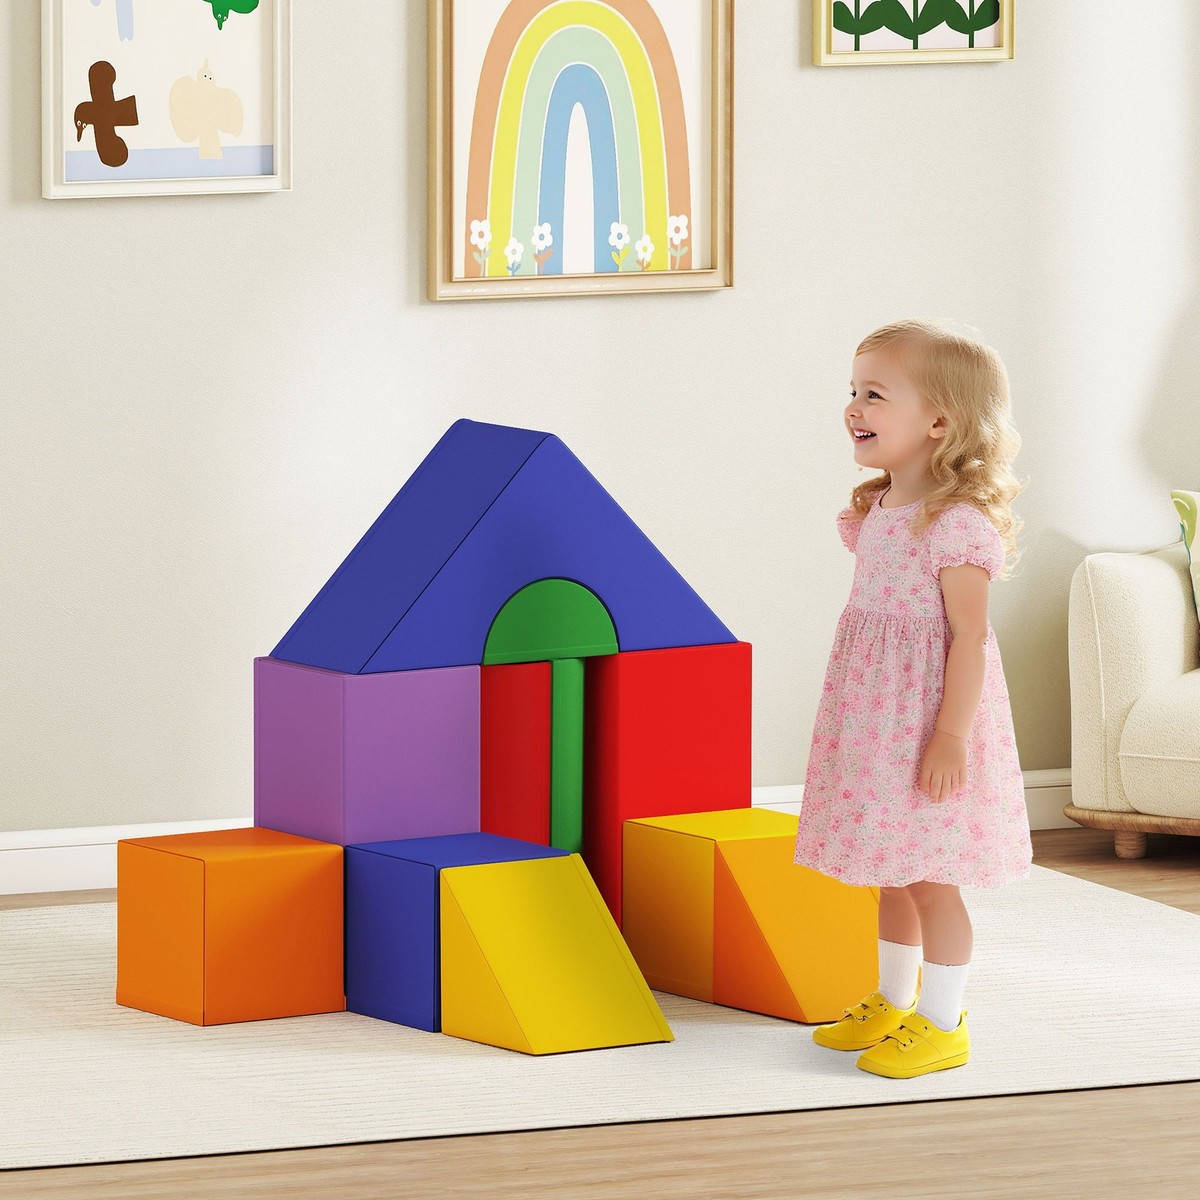
Credit: www.ebay.ca
Materials Needed
Making a baby block toy is a fun and safe project. You need the right materials to create a toy that is safe for babies.
This guide will help you find safe wood, non-toxic paints, and other supplies needed for the toy.
Choosing Safe Wood
Pick wood that is smooth and strong. Avoid woods with splinters or sharp edges.
Hardwoods like maple or birch are good choices. They are safe and last long.
- Use untreated, natural wood
- Avoid softwoods that can splinter easily
- Sand all surfaces to make them smooth
Selecting Non-toxic Paints
Choose paints that are safe for babies. They should be free from harmful chemicals.
Water-based and lead-free paints are best. They dry quickly and are safe to touch.
- Look for non-toxic or child-safe labels
- Avoid paints with strong odors
- Test paint on a small wood piece first
Additional Supplies
You will need some extra items to finish the toy properly. These supplies help with safety and finishing touches.
- Sandpaper for smoothing edges
- Non-toxic wood glue for joining pieces
- Clear, non-toxic sealant to protect the paint
- Brushes for painting and sealing
- Measuring tools and a saw for cutting wood
Preparing The Wood
Making a baby block toy starts with preparing the wood carefully. Good preparation ensures safe and smooth blocks for babies to play with.
Choose wood that is sturdy but light. Avoid wood with cracks or knots that can break easily.
Measuring And Cutting Blocks
Measure the wood pieces to the size you want for your blocks. Use a ruler or tape measure for accuracy.
Mark the cutting lines clearly with a pencil. Cut along the lines using a saw made for wood.
- Make sure blocks are even in size
- Keep edges straight and corners square
- Wear safety gear when cutting wood
Sanding For Smooth Edges
Sanding the blocks removes rough spots and splinters. Use fine-grit sandpaper to smooth all sides and edges.
Check each block by running your fingers over the surface. Sand again if you feel any roughness.
- Smooth edges keep the blocks safe for babies
- Sand all corners to make them round
- Clean dust off blocks before finishing
Designing The Blocks
Designing baby blocks is fun and creative. Good design helps babies learn and play safely.
Think about shapes, sizes, colors, and patterns. These details make blocks interesting and safe.
Choosing Shapes And Sizes
Select shapes that are easy for babies to hold. Avoid sharp corners or small parts.
Use different sizes to help babies practice their grip and hand coordination.
- Simple shapes like squares, circles, and triangles
- Rounded edges for safety
- Varied sizes for small and big hands
- Blocks big enough to not fit in a baby’s mouth
Adding Colors And Patterns
Bright colors attract babies’ attention and help with color learning. Use safe, non-toxic paint.
Simple patterns can teach shapes and improve visual skills. Keep patterns clear and easy to see.
- Use primary colors like red, blue, and yellow
- Mix soft pastel colors for variety
- Apply stripes, dots, or simple shapes as patterns
- Make sure paint is safe and durable

Credit: www.youtube.com
Painting And Decorating
Painting and decorating baby block toys makes them fun and unique. It is important to use safe materials for the child’s health.
Simple steps help you create beautiful blocks that babies can enjoy safely.
Applying Base Coats
Start by applying a base coat to the wooden blocks. This layer helps paint stick better and makes colors look bright.
Use a smooth brush and paint all sides evenly. Let the base coat dry before adding more paint.
Detailing With Safe Paints
Choose paints labeled non-toxic and safe for children. These paints do not have harmful chemicals.
Use small brushes to add shapes, letters, or numbers. Keep designs simple and clear for babies to see.
- Use water-based or acrylic paints marked non-toxic
- Avoid paint with lead or strong chemicals
- Test paint on a small block first
Allowing Proper Drying Time
Let each paint layer dry fully before adding more paint. This stops colors from mixing or smudging.
Place blocks on a clean, flat surface in a dry area. Drying time varies but usually takes a few hours.
- Dry base coat for at least 2 hours
- Dry detailed paint for 3 to 4 hours
- Check that paint is hard and no longer sticky
Finishing Touches
After making the baby block toy, the finishing touches make it safe and long-lasting. These steps help protect the paint and ensure the toy is safe for babies.
Take your time with these final steps to create a beautiful and safe toy your baby will enjoy.
Sealing The Paint
Sealing the paint protects the colors from chipping and fading. It also keeps the toy smooth and easy to clean.
Use a non-toxic, water-based sealer made for children’s toys. Apply it in thin, even layers and let each layer dry completely before adding another.
- Choose a clear, non-toxic sealer
- Apply thin coats with a soft brush
- Let each coat dry fully before next
- Seal all painted areas for full protection
Checking For Safety
Check the toy carefully to make sure it is safe for babies. Look for small parts or sharp edges that could hurt the child.
Make sure paint and sealers are dry and do not smell strong. Test the toy by shaking it gently to check for loose pieces.
- Inspect for loose or small parts
- Sand rough or sharp edges smooth
- Confirm all paint and sealer are dry
- Use only non-toxic, child-safe materials
Cleaning And Maintenance
Keeping your baby block toy clean is important for your child’s health. Dirt and germs can build up on toys over time. Regular cleaning helps keep the toy safe and looking new.
Maintenance also includes storing the toy properly. Good care extends the toy’s life and keeps it fun for your baby.
Safe Cleaning Methods
Use mild soap and warm water to clean the blocks. Avoid harsh chemicals that can harm your baby or the toy’s material. Clean blocks often to remove dirt and germs.
- Wipe blocks with a soft cloth dipped in soapy water
- Rinse with clean water and dry with a towel
- Use a toothbrush to clean small crevices
- Do not soak wooden blocks to avoid damage
- Check for loose parts or cracks during cleaning
Storage Tips
Store baby blocks in a dry, clean place. Avoid damp areas that cause mold or damage. Use containers or boxes to keep blocks organized and easy to find.
- Use a sealed plastic bin to protect from dust
- Keep blocks out of direct sunlight to prevent fading
- Store blocks at a low height for easy baby access
- Separate damaged blocks to fix or discard them
- Label storage containers for quick cleanup
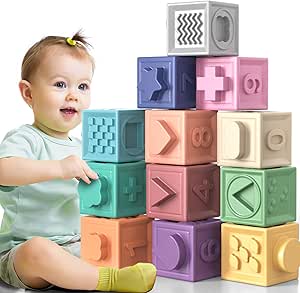
Credit: lafireworksstore.com
Frequently Asked Questions
What Materials Are Needed To Make Baby Block Toys?
You need soft fabric, stuffing, thread, scissors, and sewing tools. Choose non-toxic, baby-safe materials for safety. Use colorful fabric to attract babies’ attention.
How Do I Ensure Baby Blocks Are Safe?
Use soft, non-toxic fabrics and avoid small parts. Sew edges tightly to prevent stuffing from escaping. Always supervise babies during play to ensure safety.
Can I Customize Baby Blocks With Letters Or Numbers?
Yes, you can sew or print letters and numbers on each block. This helps babies learn while playing. Use baby-safe dyes or embroidery for customization.
How Long Does It Take To Make A Baby Block Toy?
It usually takes 1 to 2 hours depending on sewing skills. Cutting fabric and stuffing blocks are the most time-consuming steps. Beginners may need extra time for accuracy.
Conclusion
Making a baby block toy can be simple and fun. You only need a few safe materials. This project helps your child learn shapes and colors. It also encourages creativity and hand skills. Taking time to make the toy shows love and care.
Your baby will enjoy playing with it every day. Try making different shapes and colors next time. Keep safety in mind while crafting. Enjoy the process and watch your baby smile. Simple toys bring great joy and learning.