



Are you ready to take your toy dirt bike adventures to the next level? Building a toy dirt bike ramp is easier than you think, and it can bring hours of fun right to your home.
Imagine the thrill of watching your bike soar smoothly over a ramp you made yourself. In this guide, you’ll discover simple steps and tips to create a safe, sturdy ramp that fits your space and toys perfectly. Keep reading, and you’ll be amazed at how quickly you can turn everyday materials into an exciting play feature your kids will love.
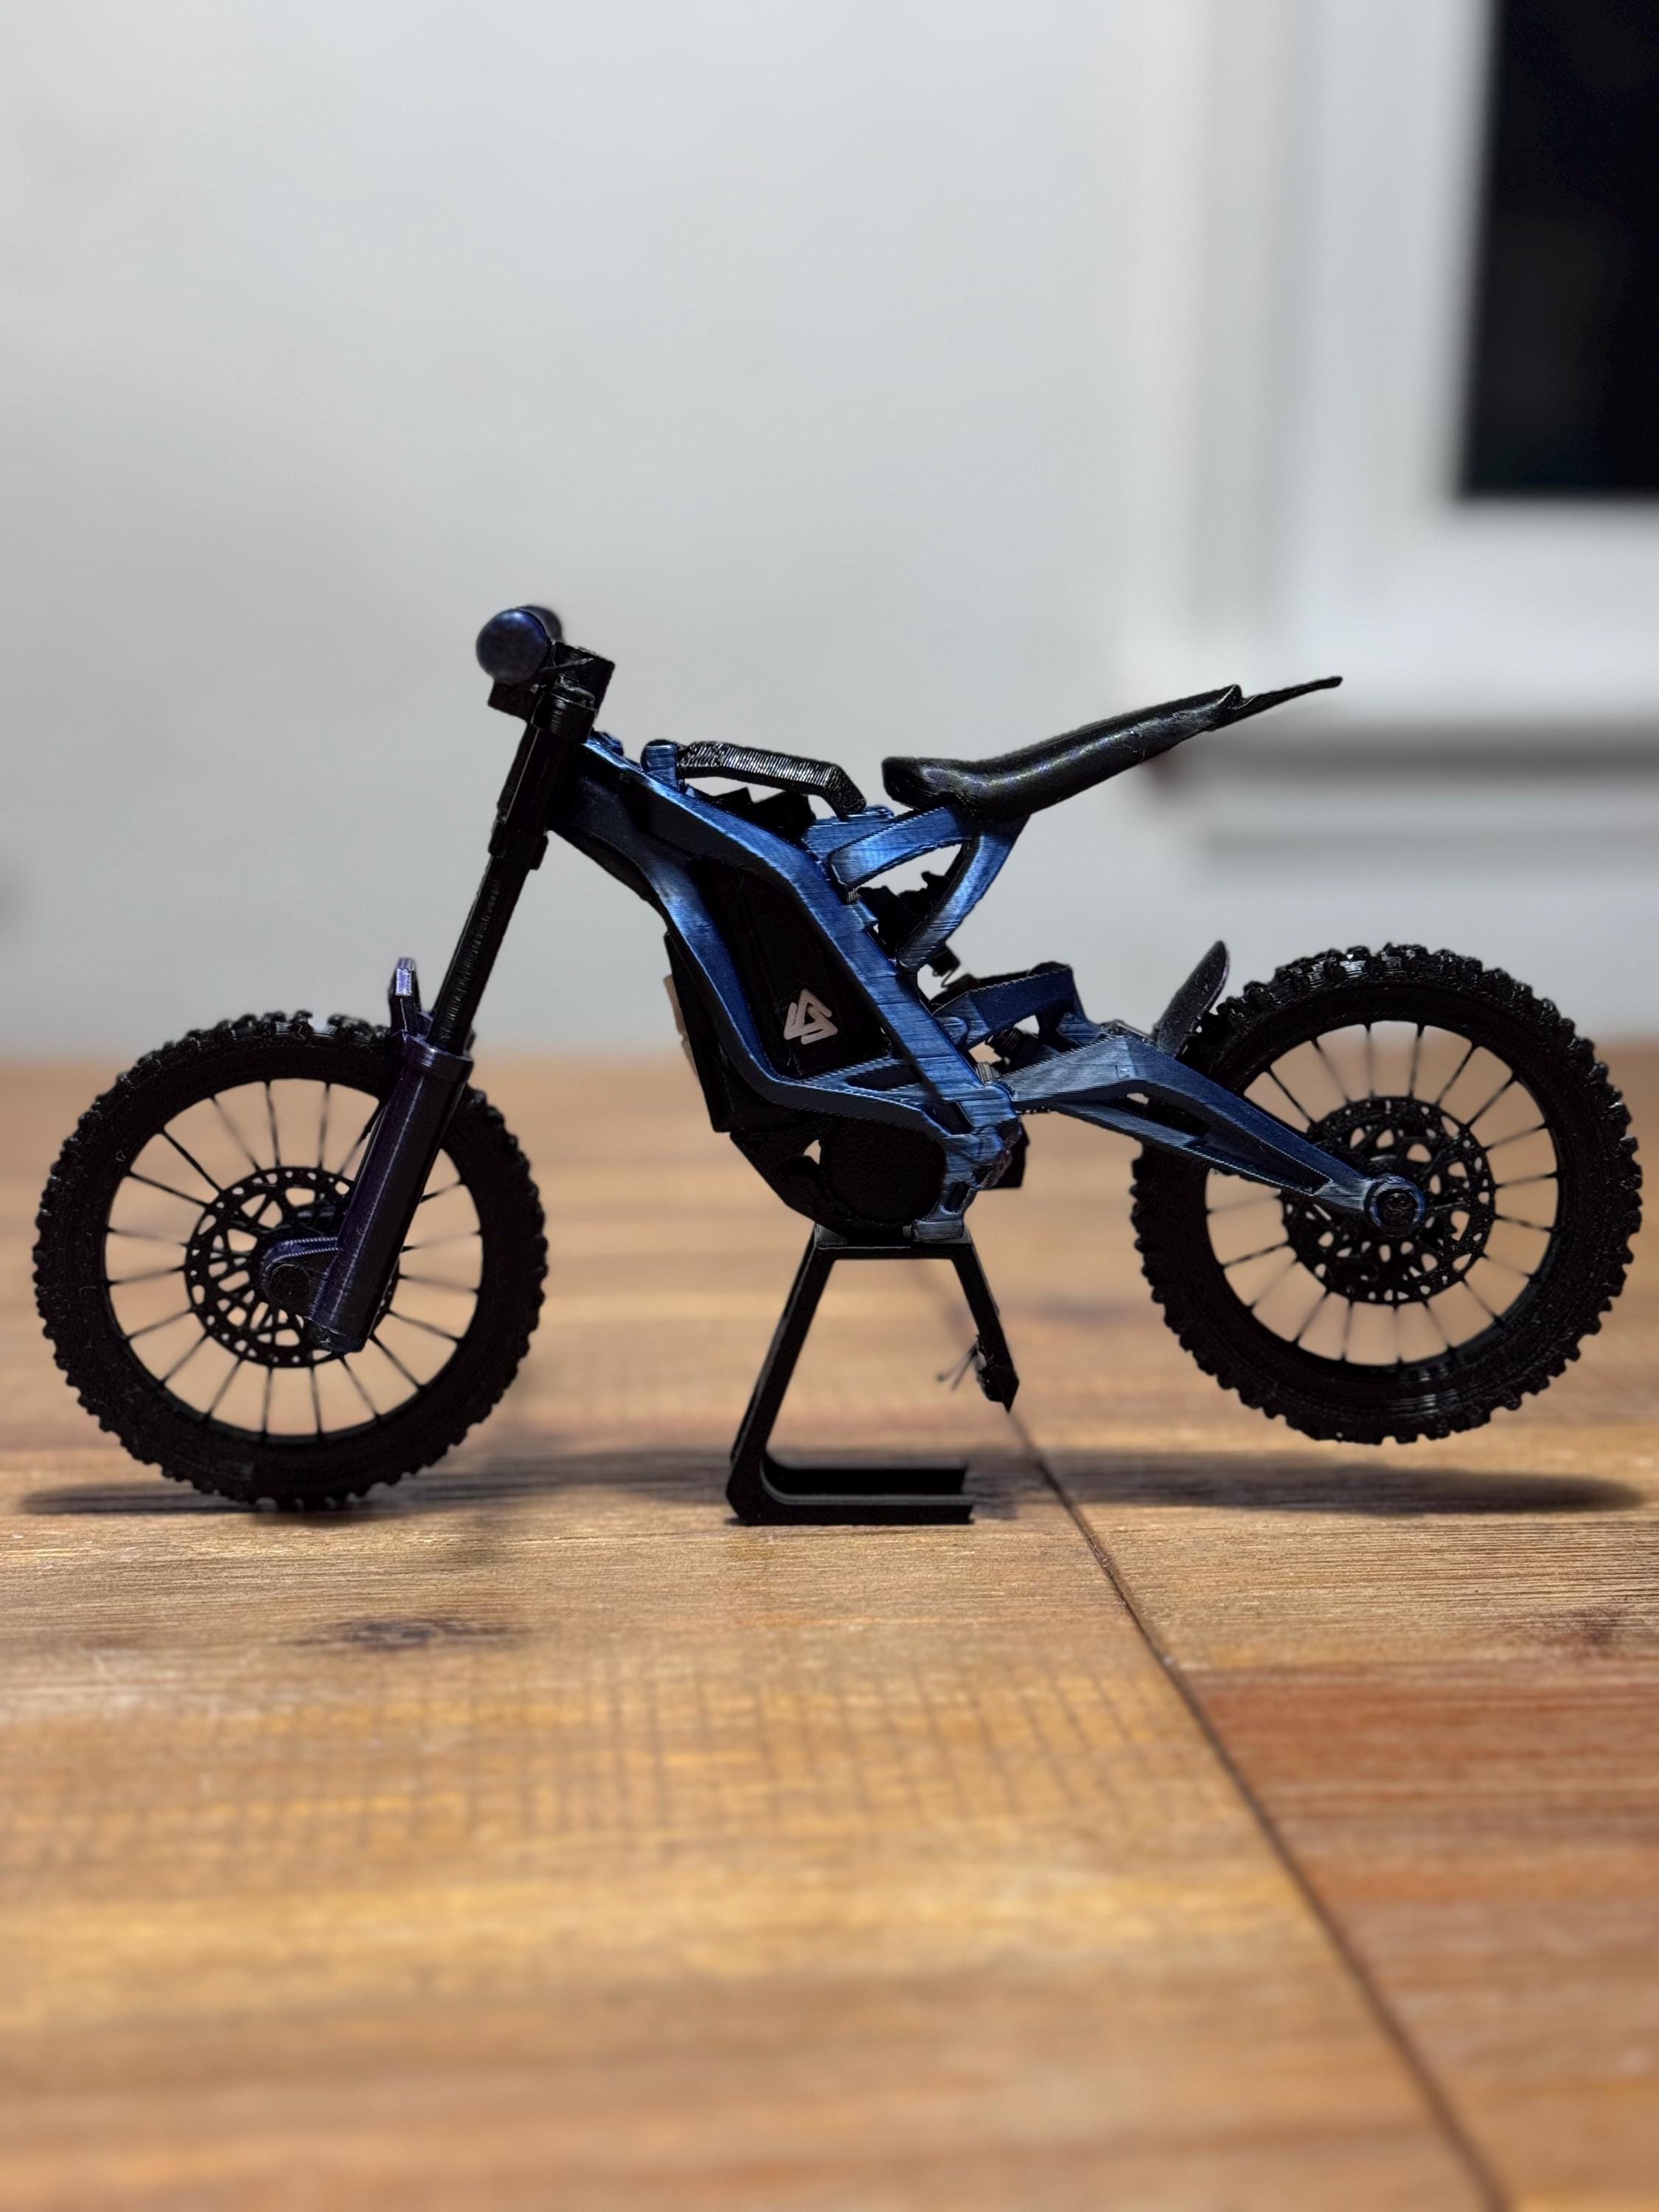
Credit: www.etsy.com
Choosing The Right Materials
Choosing the right materials for your toy dirt bike ramp sets the foundation for a sturdy and safe project. The materials you pick affect the ramp’s durability, weight, and overall performance. It’s important to focus on options that balance strength with ease of use, especially if this is your first build.
Best Wood Types
Wood is the most common choice for building toy ramps. Plywood and pine are popular because they are affordable and easy to work with.
- Plywood:Choose a smooth, exterior-grade plywood to withstand wear and moisture. A ¾-inch thickness usually offers solid support without being too heavy.
- Pine:This softwood is lightweight and easy to cut. Use pine boards for the ramp’s frame to keep it sturdy and manageable.
- Cedar or Redwood:These woods resist rot and insects, making them great if your ramp will stay outdoors.
Have you thought about how the wood’s weight will affect portability? Lighter wood makes moving the ramp easier but may need extra reinforcement.
Essential Tools
Having the right tools makes building your ramp quicker and safer. You don’t need a full workshop, but some basics will save frustration.
- Power Drill:For drilling holes and driving screws. It speeds up assembly and ensures tight joints.
- Jigsaw or Circular Saw:To cut curves or straight lines in wood accurately.
- Measuring Tape and Carpenter’s Square:Accuracy matters when cutting and joining parts.
- Screwdriver Set:For fine adjustments and securing small screws.
Imagine trying to build without the right saw—it’s like painting without brushes. Investing in a few essential tools pays off in the quality of your ramp.
Safety Gear
Safety might seem obvious, but it’s easy to overlook when you’re excited to start building. Protect yourself to avoid injuries that could stop your project altogether.
- Safety Glasses:Wood chips and dust can cause serious eye injuries.
- Ear Protection:Power tools can be loud and damage your hearing over time.
- Dust Mask:Keeps you from inhaling sawdust, which irritates your lungs.
- Work Gloves:Protect your hands from splinters and sharp edges.
Do you have a safety routine before starting a project? Developing one can save you from accidents and keep your build on track.
Designing The Ramp
Designing the ramp is a key part of making a toy dirt bike ramp. It sets the foundation for how fun and safe the ramp will be. Careful planning helps create a ramp that fits the space and suits the bike’s size and speed. Keep the design simple and practical for the best results.
Determining Ramp Size
Start by choosing the right size for the ramp. The ramp should match the toy bike’s size and the rider’s skill level. A ramp too big can be hard to use. A ramp too small may not be exciting enough.
Measure the bike’s wheels and the area where the ramp will go. A good size is usually around 2 to 3 feet long and 1 to 2 feet wide. This size allows enough space for a smooth ride and easy control.
Selecting Ramp Shape
The shape affects how the bike moves over the ramp. A simple curved ramp is best for beginners. It gives a smooth and steady ride. A straight ramp creates a quick jump but needs more skill.
Other shapes like a small bump or a wave can add variety. Choose a shape that fits the space and skill level. Keep edges rounded to avoid sharp corners.
Planning Ramp Angle
The angle of the ramp controls the speed and height of the jump. A gentle angle makes the ramp safer and easier to ride. Steeper angles create higher jumps but can be risky.
For toy dirt bikes, keep the angle between 20 and 30 degrees. This range balances fun and safety. Use a protractor or angle finder tool to measure the slope accurately.
Building The Ramp Frame
Building the ramp frame is the first key part of making a toy dirt bike ramp. A strong frame supports the whole structure and keeps it safe. Use good wood and careful measurements. Work slowly and check your cuts and joins for a solid build.
Cutting Wood Pieces
Start by measuring the wood for the ramp frame. Use a tape measure and mark the pieces clearly. Cut the wood with a saw, following the marks closely. Cut pieces for the base, sides, and supports. Keep all cuts straight and smooth for easier assembly.
Assembling The Base
Lay the base pieces flat on a clean surface. Join the wood pieces with screws or nails. Make sure the base is square and strong. Use a carpenter’s square to check corners. The base holds the ramp steady on the ground.
Adding Support Beams
Add support beams under the ramp surface. Place beams evenly to spread weight. Secure beams with screws to avoid wobbling. Check the frame for any weak spots. Support beams keep the ramp from bending or breaking.
Creating The Ramp Surface
Creating the ramp surface is a crucial part of making your toy dirt bike ramp both functional and safe. The surface needs to provide enough grip for the bike tires while being sturdy enough to handle repeated use. Paying attention to the details here can make a big difference in how well your ramp performs and how long it lasts.
Choosing The Surface Material
Picking the right material for the ramp surface is essential. Plywood is a popular choice because it’s strong, smooth, and easy to work with. If you want extra grip, consider adding a layer of outdoor carpet or rubber mats.
Have you thought about how weather might affect your ramp? If it’s going outside, waterproof materials or weather-resistant coatings can keep the surface from warping or getting slippery when wet.
Attaching The Surface
Secure the surface material firmly to the ramp frame to avoid any movement. Use screws instead of nails for a tighter hold, especially if the ramp will be used frequently. Pre-drilling holes can prevent the wood from splitting.
Make sure the surface is flush with the edges of the frame to avoid any sharp or uneven spots. You want the transition to be smooth so the toy bike doesn’t catch or get stuck while riding up or down.
Smoothing And Finishing
Once the surface is attached, sanding the edges and corners is a must. This step removes splinters and rough spots that could damage your bike or hurt little hands. Use medium-grit sandpaper for the best balance between smoothing and preserving the surface.
Consider sealing the surface with a clear varnish or wood sealant to protect it from wear and tear. This will also make cleaning easier, especially if dirt and mud from the toy bikes build up over time.
Adding Safety Features
Adding safety features to a toy dirt bike ramp ensures a secure play environment. Use soft materials like foam for the landing area. Incorporate guardrails to prevent falls and add non-slip surfaces to maintain stability.
Adding safety features to your toy dirt bike ramp is crucial. It ensures a fun and safe experience. Focus on stability and non-slip elements. Safety should always be a priority.
Securing The Ramp
Ensure the ramp is firmly in place. Use screws or nails to secure it. Check that the base doesn’t wobble. Stability prevents accidents during use. A secure ramp is safer for kids.
Adding Non-slip Elements
Incorporate non-slip materials on the ramp surface. Use grip tape or textured paint. These materials provide traction for the bike. Prevent slipping during rides. Non-slip features enhance safety.
Checking Stability
Regularly check the ramp’s stability. Ensure all parts are tightly fastened. Test the ramp with weight. Make sure it supports pressure without tipping. A stable ramp is a safe ramp.
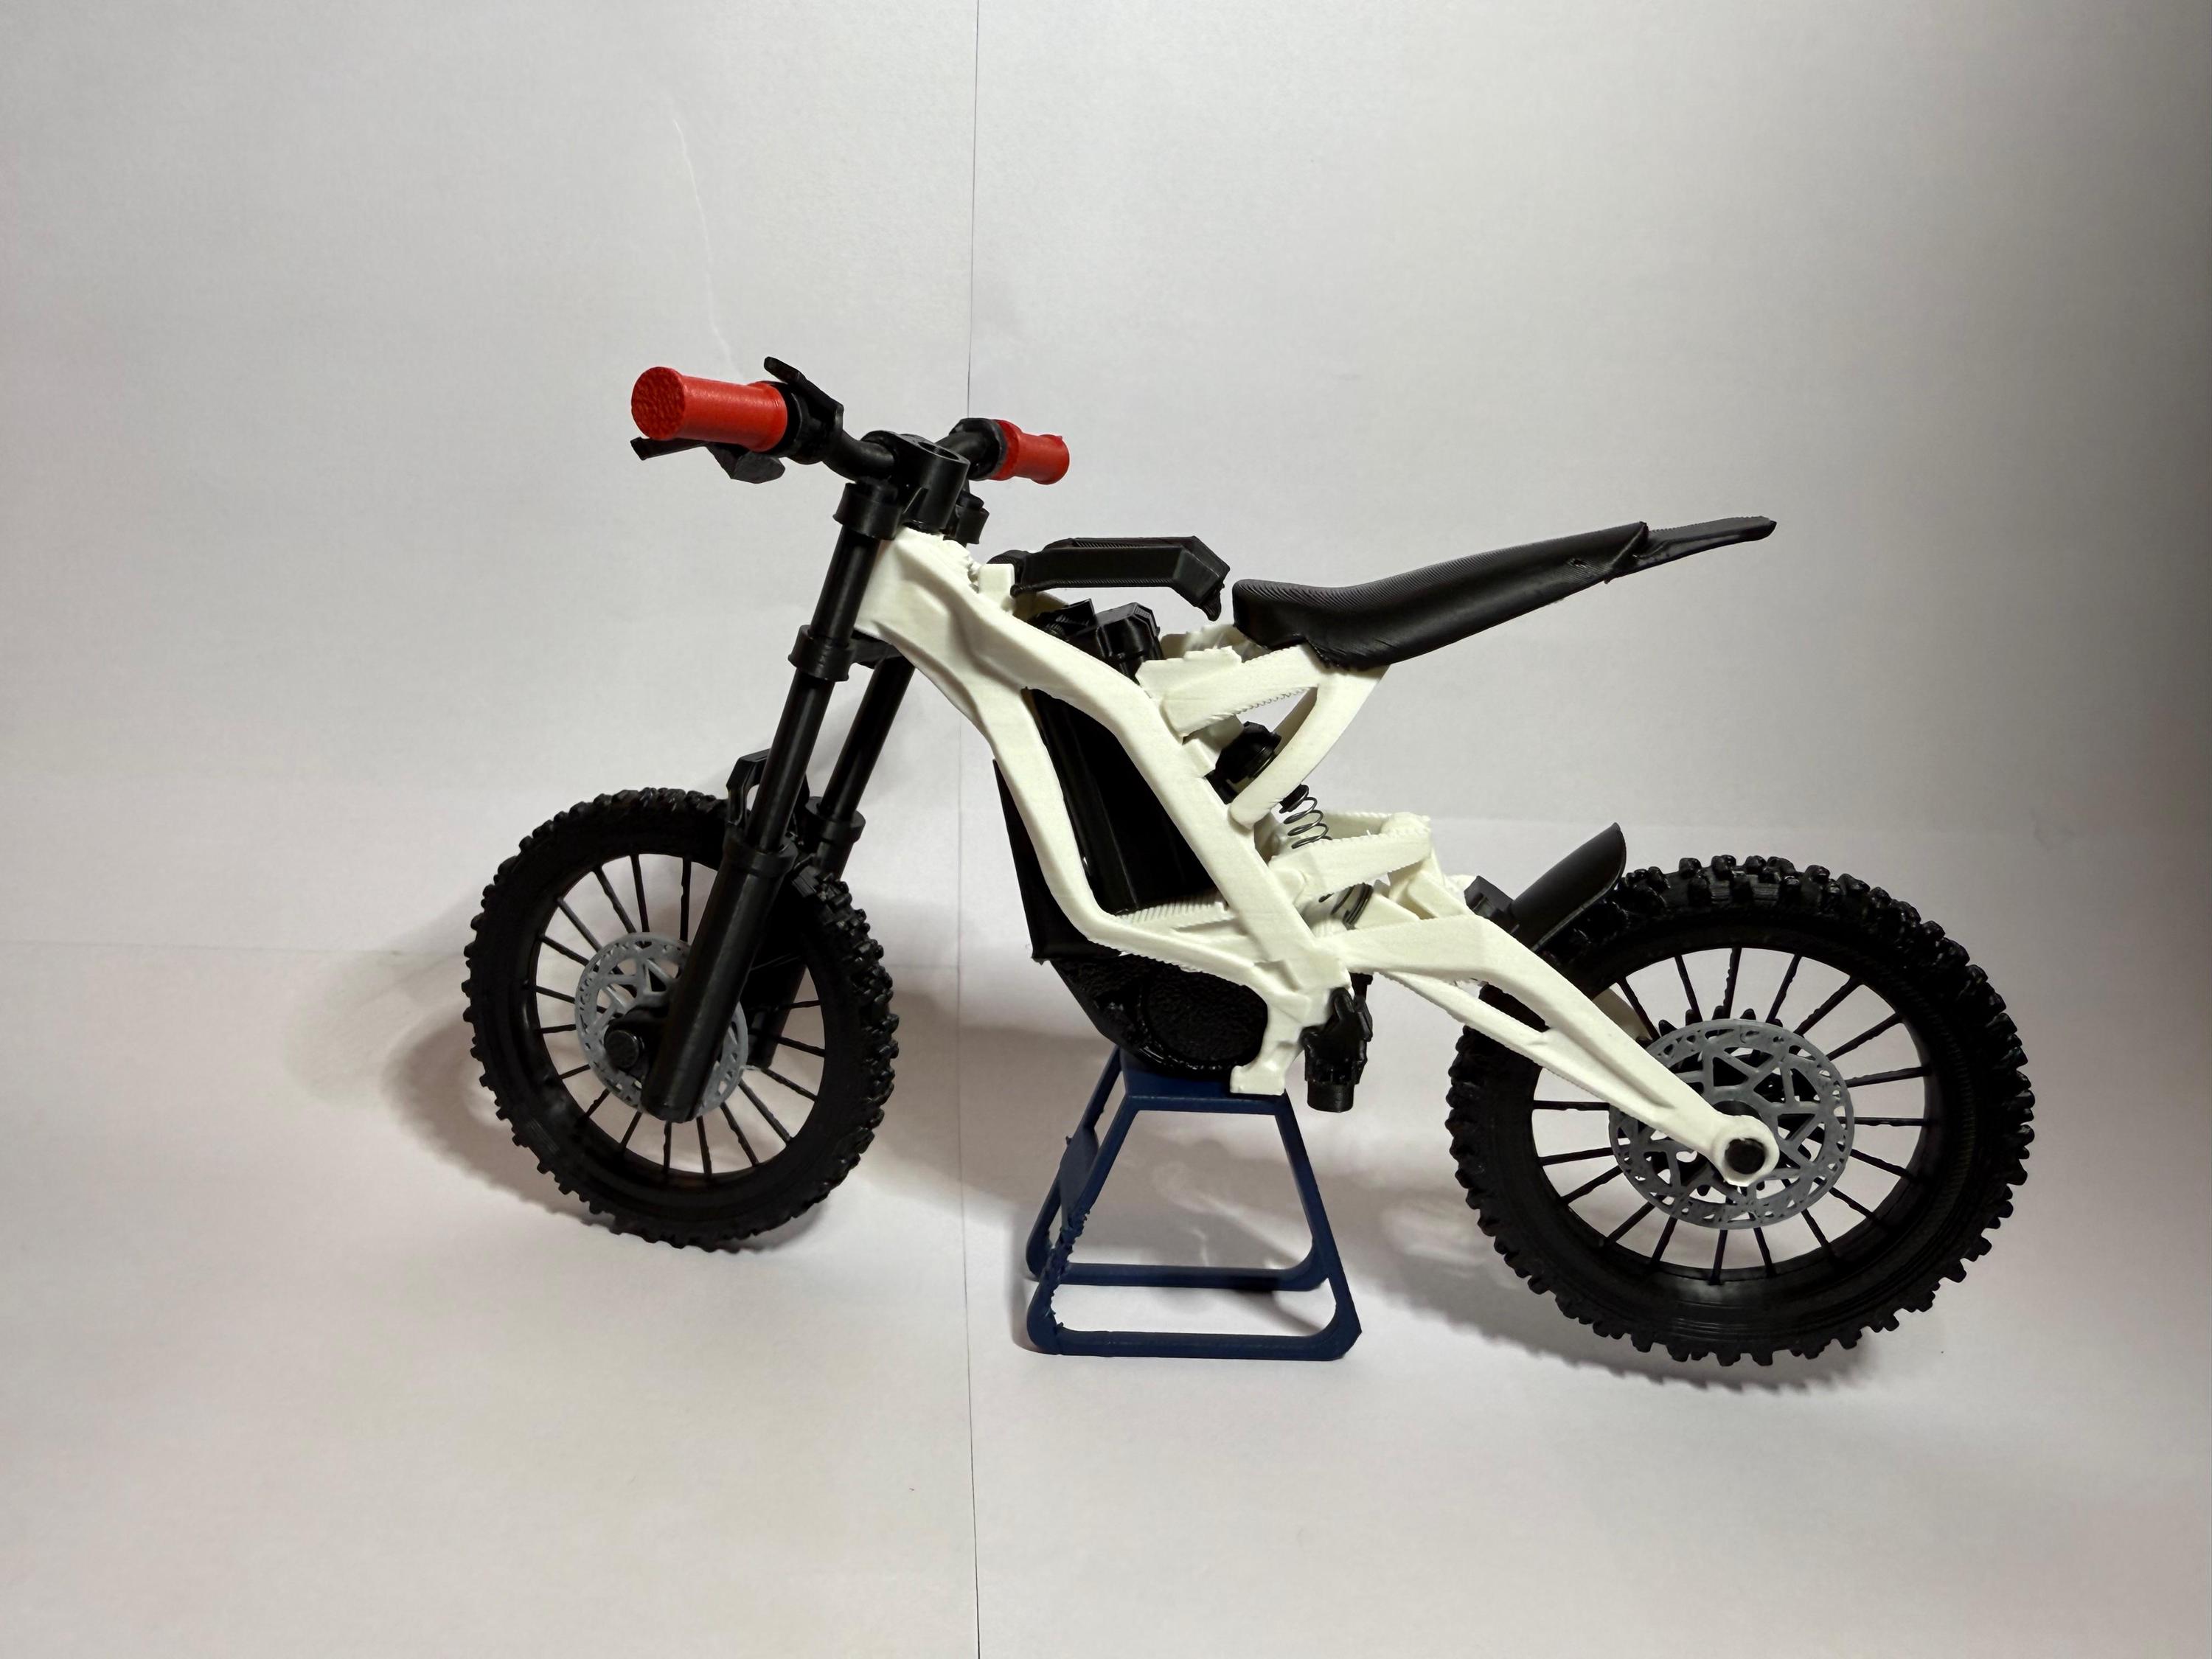
Credit: www.etsy.com
Testing And Adjustments
Testing and adjusting your toy dirt bike ramp is where your hard work truly pays off. This stage helps you see how the ramp performs in real conditions and whether it’s safe and fun to use. It’s normal to find spots that need tweaking—this is part of the creative process.
Initial Test Runs
Start by trying out the ramp with your toy dirt bike at a slow speed. Observe how smoothly the bike goes up and down the ramp. Pay close attention to any bumps or wobbles that could cause the bike to tip over or lose control.
Take note of how the bike lands after the jump. Does it feel too hard or awkward? Testing with different speeds gives you a better idea of the ramp’s limits and safety.
Making Necessary Changes
Based on your test runs, you might need to adjust the angle or height of the ramp. If the bike struggles to climb, try reducing the slope. If the landing feels rough, consider adding a softer surface or adjusting the ramp’s end.
Don’t hesitate to tighten or reinforce any loose parts you notice during testing. You want the ramp to be sturdy enough to handle repeated jumps without breaking.
Optimizing For Fun
Once the ramp is stable and safe, think about what makes the ride exciting. Could adding a small curve or a bump increase the challenge? Sometimes, subtle tweaks make the difference between a good ramp and a great one.
Ask yourself: does this ramp keep you engaged and wanting to try new tricks? Your goal is to create an enjoyable experience that encourages creativity and skill-building.
Creative Customizations
Customizing your toy dirt bike ramp can turn a simple project into an exciting adventure. Adding personal touches not only makes the ramp visually appealing but also enhances the play experience. Think about what would make your ramp stand out and challenge your creativity with unique ideas.
Painting And Decorating
Choose bright, bold colors that catch the eye and make the ramp pop. You could paint flames, racing stripes, or even your favorite bike number to give it a personalized look.
Use waterproof paint to ensure durability, especially if the ramp will be used outdoors. Stickers or stencils can add detailed designs without needing advanced painting skills.
Adding Obstacles
Obstacles turn a basic ramp into a mini stunt park. You might add small bumps, ramps within ramps, or rails for grinding tricks.
Consider using lightweight materials like foam or cardboard for these additions so they are easy to move or replace. Think about what challenges you want your dirt bike to face—what’s a fun obstacle for you?
Incorporating Lights
Adding LED strip lights or small battery-powered spotlights can make your ramp look cool and allow playtime after dark. Secure lights along the sides or under the ramp for a glowing effect.
Simple string lights work well and are easy to hide. Have you ever tried night riding? Adding lights could bring that thrill to your toy setup.

Credit: www.amazon.com
Frequently Asked Questions
What Materials Are Needed To Build A Toy Dirt Bike Ramp?
You need plywood, screws, nails, wood glue, sandpaper, and paint. Optional tools include a saw, drill, and measuring tape. These materials ensure the ramp is sturdy, safe, and visually appealing for toy dirt bike use.
How Do You Ensure The Ramp Is Safe For Toy Bikes?
Use smooth sanded wood to avoid splinters and secure all parts tightly. Test the ramp’s stability before use. Proper construction prevents accidents and ensures the ramp supports the toy dirt bike’s weight effectively.
What Is The Ideal Ramp Size For Toy Dirt Bikes?
A ramp height of 6-12 inches and a length of 24-36 inches works well. This size allows easy jumps and safe landings, suitable for most toy dirt bikes. Adjust dimensions based on the bike size and available space.
Can I Customize The Ramp Design For Different Tricks?
Yes, you can create ramps with varied angles and heights. Adding curves or multiple levels enhances trick possibilities. Custom designs make play more fun and challenge skill development for toy dirt bike enthusiasts.
Conclusion
Building a toy dirt bike ramp can be fun and simple. You only need a few materials and some time. Follow the steps carefully to create a safe ramp. Kids will enjoy playing with their bikes on it. This project helps improve creativity and basic building skills.
Try different designs to see what works best. Keep safety in mind during and after building. Enjoy watching the fun and smiles your ramp brings. Give it a try and make playtime more exciting!