






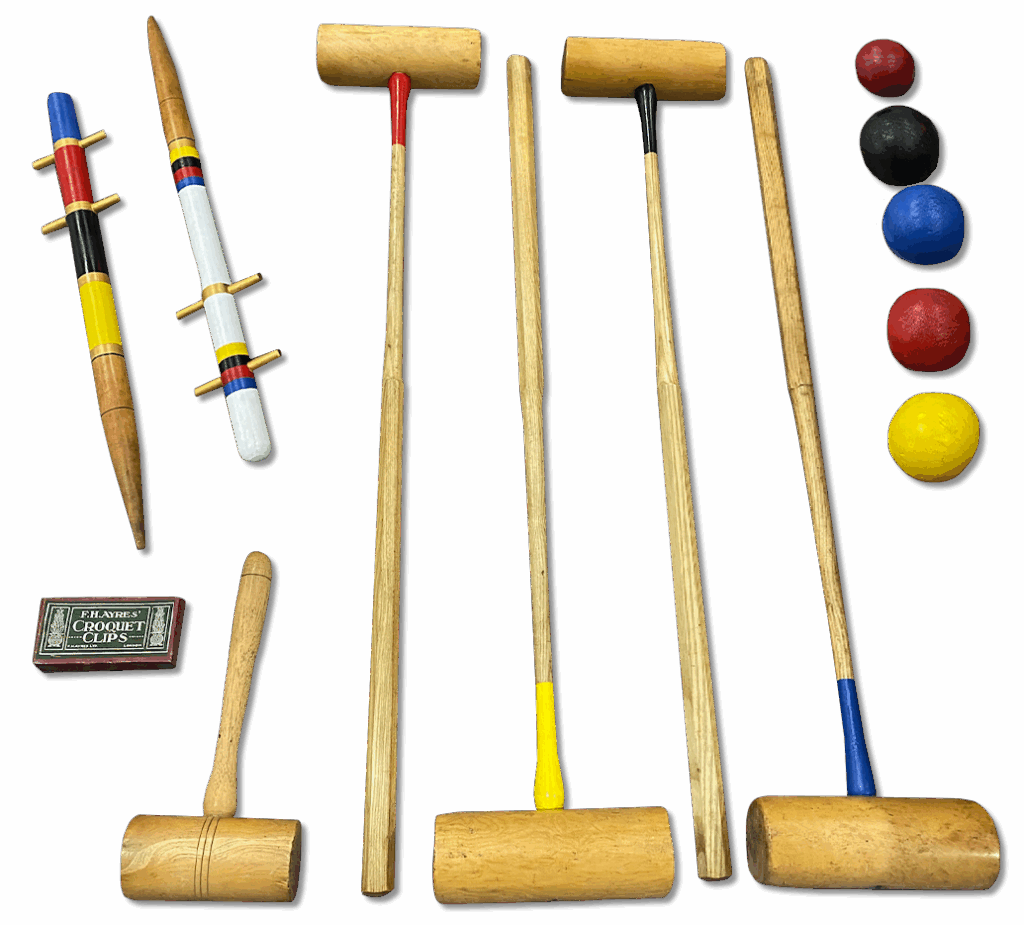
Have you noticed a chip or crack on your child’s favorite wooden toy? It can be frustrating to see a beloved plaything damaged, but don’t worry—you can fix it yourself.
Repairing chipped wooden toys is easier than you think, and with a few simple steps, you’ll have that toy looking good as new. Keep reading to discover how you can bring your child’s cherished toy back to life quickly and safely.
Tools And Materials Needed
Before you start fixing those chipped wooden toys, gathering the right tools and materials is crucial. Having everything ready makes the repair process smoother and helps you achieve a better finish. Let’s look at what you’ll need to bring those toys back to life.
Essential Repair Tools
Start with basic tools that make the repair easy and precise. A fine-grit sandpaper (around 220 grit) will smooth out rough edges and prepare the surface for filling. You’ll also need a small putty knife or a plastic scraper to apply wood filler cleanly.
Other helpful tools include a clean cloth for wiping dust and a small brush for painting. If the chip is deep, consider a wooden toothpick or a small wooden stick to help pack filler into tight spots. Don’t forget safety gear like gloves to protect your hands and a mask if you’re sanding a lot.
Choosing The Right Wood Filler
Wood filler comes in different types, so picking the right one is key. For small chips on toys, a water-based wood filler is ideal because it’s easy to work with and dries quickly. You want a filler that sands smoothly and sticks well without cracking over time.
Think about the toy’s use too. If it’s for a child, choose a non-toxic filler that’s safe for kids. Some fillers come pre-colored, but you can also pick a neutral one and paint over it to match the toy’s original color.
Selecting Paint And Finish
Matching the paint to the toy’s original finish restores its charm. Acrylic paint works well because it dries fast and comes in many colors. It also adheres nicely to wood filler and is water-resistant after drying.
After painting, a clear finish protects the surface and adds shine. Look for non-toxic varnishes or sealants, especially for toys kids handle. Applying a thin layer with a soft brush will keep your repair durable without changing the toy’s feel.
Preparing The Toy For Repair
Before you dive into fixing a chipped wooden toy, the first thing to focus on is preparing it properly. This step sets the stage for a clean, lasting repair and saves you from frustration later on. Skipping preparation might seem tempting, but it often leads to a sloppy finish and weaker bonds.
Cleaning The Damaged Area
Start by removing any dirt, dust, or sticky residue around the chipped spot. Use a soft cloth slightly dampened with water or mild soap—avoid soaking the wood.
Thorough cleaning helps the filler or glue stick better. Have you noticed how even tiny dust particles can ruin a smooth finish? That’s why this step matters more than you might think.
Sanding For A Smooth Surface
Next, gently sand the chipped edges with fine-grit sandpaper. This softens sharp corners and creates an even surface for repair materials.
Sanding also opens up the wood pores, improving adhesion. Don’t rush this part—take your time to avoid removing too much wood or making the chip worse.
Removing Loose Wood Chips
Inspect the area carefully for any small, loose wood pieces that could fall off during repair. Use tweezers or your fingers to pick them out.
Leaving these chips in place can cause bumps or gaps after filling. Think of it like building a puzzle—you want every piece stable before adding new ones.
Fixing Small Chips And Cracks
Small chips and cracks in wooden toys can spoil their look and feel. Fixing these damages helps keep the toy safe and attractive. A simple repair can restore the wood’s smooth surface and prevent further damage. Use the right tools and materials to achieve the best results.
Applying Wood Filler Correctly
Choose a wood filler that matches the toy’s color. Use a small putty knife or a plastic card to apply filler. Press the filler firmly into the chip or crack. Overfill slightly to allow for sanding later. Clean excess filler around the repair with a damp cloth. Let the filler cover the entire damaged area evenly.
Shaping And Smoothing The Repair
After the filler dries, start shaping the repair. Use fine-grit sandpaper to smooth the surface gently. Sand in the direction of the wood grain for a natural look. Check the repair often to avoid sanding too much. The goal is a flat, even surface that blends with the toy. Wipe away dust with a dry cloth before finishing.
Drying And Curing Times
Drying time depends on the filler type and thickness. Usually, allow 1 to 4 hours for wood filler to dry. For deeper cracks, drying may take longer. Follow product instructions for exact curing times. Avoid touching or painting the repair until fully cured. Proper drying ensures a strong and durable fix.

Credit: www.woodmagazine.com
Repairing Larger Or Deep Chips
Repairing larger or deep chips in wooden toys requires patience and the right materials to restore both appearance and strength. These types of damages can be tricky because they often affect the structural integrity of the toy. By using targeted techniques, you can make your cherished wooden toy look almost as good as new while ensuring it remains safe for play.
Using Wood Glue And Clamps
Wood glue is your best friend when fixing big chips that still fit together. Apply a generous amount of glue to the chipped pieces, then press them firmly into place. Using clamps helps hold everything tight while the glue dries, which usually takes a few hours to overnight.
Be sure to wipe away any excess glue before it hardens to avoid a messy finish. If you’ve ever tried this without clamping, you know how easy it is for parts to shift and ruin the repair. Have you checked if your clamps can apply even pressure without damaging delicate parts?
Filling Gaps With Epoxy
For deep gaps or missing chunks, epoxy putty is an excellent filler. You can mold it to fit the exact shape needed, then smooth it before it hardens. Epoxy dries hard and can be sanded or painted to match the toy’s surface perfectly.
This method works especially well when the chip is too large to glue back or if pieces are lost. Remember to wear gloves and work in a well-ventilated area since epoxy can be sticky and strong-smelling. Have you tried mixing epoxy with wood dust to get a closer color match?
Reinforcing Weak Spots
Sometimes the damage leaves the wood weak even after filling or gluing. You can reinforce these spots by adding small wooden dowels or toothpicks dipped in glue. Insert them carefully into the wood fibers to provide extra support inside the damaged area.
This technique prevents the chip from breaking again under pressure, especially in toys that get a lot of handling. After the glue dries, sand the area gently to blend it with the rest of the toy. Think about which areas of your toy get the most wear—would reinforcing those spots extend its life?
Painting And Finishing Touches
Smooth the repaired area with fine sandpaper before painting. Choose a matching paint color for a seamless look. Finish with a clear sealant to protect and brighten the toy.
Repairing chipped wooden toys can be a rewarding task, especially when you see the joy they bring back to children’s faces. After addressing the structural damage, it’s time to bring these toys back to life with painting and finishing touches. This phase not only restores their appearance but also adds a layer of protection, ensuring longevity and renewed appeal.
Matching Paint Colors
Choosing the right paint colors is crucial for a seamless repair. Start by examining the toy’s original colors. If possible, take a small sample to a local hardware store to find the closest match. Consider using non-toxic acrylic paints, especially if the toys are intended for small children. These are safe and come in a wide range of shades. If you’re unsure about the color, try testing a small, inconspicuous area first.
Applying Protective Coats
Once the paint has dried, it’s essential to seal the surface. A protective coat not only enhances the paint’s durability but also shields the toy from future wear and tear. Opt for a water-based polyurethane finish, which is both child-safe and easy to apply. Use a soft brush to apply a thin coat, ensuring even coverage. Allow it to dry thoroughly before handling.
Polishing For A Natural Look
For those who prefer a natural finish, polishing can give wooden toys a beautiful sheen. Select a beeswax polish, which nourishes the wood and provides a subtle shine. Apply a small amount of polish with a soft cloth, rubbing in the direction of the wood grain. Buff the surface gently to achieve a smooth, lustrous finish. This step enhances the toy’s natural beauty and ensures a tactile pleasure when held. Reflect on the satisfaction you feel when a once-damaged toy looks new again. Isn’t it wonderful how a little effort can revitalize cherished memories? By focusing on these painting and finishing touches, you ensure that the toys continue to delight for years to come.

Credit: www.youtube.com
Preventing Future Damage
Repairing chipped wooden toys is just the beginning. To keep them looking good and lasting longer, you need to prevent future damage. Small habits and the right care can make a big difference in preserving these cherished items.
Proper Toy Handling Tips
Teach children to handle wooden toys gently. Encourage them to avoid throwing or banging toys against hard surfaces. You might even show how a little extra care helps the toy stay beautiful and safe for playtime.
Check toys regularly for loose parts or rough edges. Fixing minor issues early prevents bigger chips or breaks. Have a small repair kit nearby so you can quickly smooth out any rough spots.
Storage And Maintenance Advice
Store wooden toys in a dry, cool place away from direct sunlight. Excess moisture can cause wood to swell and crack, while sunlight can fade colors and weaken finishes.
Use bins or shelves to keep toys organized and off the floor. This reduces the chance of accidental stepping or crushing. Covering toys with a cloth can also protect them from dust and environmental damage.
How often do you check your child’s toys for wear and tear? Making it a simple routine can save you time and effort in repairs down the road. Small, consistent care keeps wooden toys safe and enjoyable for years.

Credit: www.amazon.com
Frequently Asked Questions
How Do I Fix A Chipped Wooden Toy At Home?
To fix a chipped wooden toy, clean the area first. Apply wood filler and let it dry. Sand it smooth, then paint or varnish to match the toy’s finish. This restores the toy’s look and prevents further damage.
What Materials Are Needed To Repair Wooden Toy Chips?
You need wood filler, sandpaper, a putty knife, and matching paint or varnish. These materials help fill, smooth, and blend the chipped area seamlessly with the toy’s surface.
Can I Repair Wooden Toys Safely For Children?
Yes, use non-toxic, child-safe wood fillers and paints. Ensure the toy is fully dry and smooth before giving it back to children to avoid any hazards.
How Long Does A Wooden Toy Repair Take?
Repairs typically take a few hours, including drying time. Wood filler needs to dry completely before sanding and painting, which ensures a durable finish.
Conclusion
Fixing chipped wooden toys takes patience and simple tools. Clean the area first for best results. Use wood filler to fill chips and sand smooth after drying. Paint or stain to match the toy’s color. Small repairs make toys safe and look nice again.
Keep toys in good shape for longer playtime. Try these steps to bring old toys back to life. A little effort goes a long way in toy repair. Enjoy the satisfaction of fixing toys yourself.