



Nothing spoils a fun day at the pool faster than a leak in your favorite inflatable pool toy. You might feel frustrated or ready to toss it out, but before you do, there’s good news: you can fix it yourself.
Imagine saving money and bringing your pool toy back to life in just a few simple steps. In this guide, you’ll learn exactly how to repair inflatable pool toys quickly and easily, so your summer fun never has to stop.
Keep reading to discover the secrets that will make your pool toys as good as new.
Credit: bawaruba.com
Common Damage Types
Inflatable pool toys bring fun to the water, but they can get damaged easily. Knowing common damage types helps fix them quickly. This saves money and extends the toy’s life.
Damage often occurs from rough use or sharp objects. Some problems are easy to spot, while others need careful checking. Here are the most common damage types and what to look for.
Punctures And Holes
Punctures and holes cause air to leak out fast. They happen from sharp items like stones or nails. Small holes may not be visible but cause slow leaks. Check the toy by feeling for air escaping or by submerging it in water and watching for bubbles.
Valve Issues
Valves control air flow in and out of the toy. Valve problems include cracks, loose fittings, or dirt inside. A broken valve can cause air to escape quickly. Clean valves carefully and check if they close tightly. Replace the valve if it is damaged beyond repair.
Seam Tears
Seams hold the toy’s parts together. Tears occur from stress or rough handling. A torn seam lets air escape and weakens the toy. Look for splits or cracks along the seams. Repair these quickly using special glue or patch kits designed for seams.
Tools And Materials Needed
Before fixing your inflatable pool toys, gathering the right tools and materials makes the repair process smoother and more effective. Having everything ready saves time and prevents frustration, especially when your kids are eager to jump back into the water. Let’s look at the essentials you should have on hand for a successful patch-up job.
Patch Kits
Patch kits are your go-to solution for sealing holes or tears in inflatable pool toys. Most kits include vinyl patches and instructions tailored for waterproof repairs. You’ll find kits designed specifically for inflatables at sporting goods stores or online.
Choose a patch kit with vinyl patches slightly larger than the damaged area. This ensures a secure seal and prevents future leaks. Keep extra patches on hand—you might discover more tiny holes once you start inspecting.
Adhesives
A strong adhesive is crucial for bonding the patch to your pool toy. Look for waterproof, flexible glues made for vinyl or rubber materials. Some kits come with their own adhesive, but having a backup like vinyl cement or specialized glue adds reliability.
Remember, not all glues work well underwater or stay flexible after drying. Ask yourself: will this glue hold up if the toy bends or stretches? Testing a small piece first can save you from a failed repair.
Cleaning Supplies
Cleaning the area around the damage is a step you can’t skip. Dirt, oils, and moisture weaken the bond between the patch and the inflatable. Use rubbing alcohol or mild soap and water to thoroughly clean and dry the surface before applying the patch.
A lint-free cloth works best for wiping down the surface. Avoid anything abrasive that could damage the material further. Have patience here—prepping the surface properly means your repair lasts longer.
Preparing The Toy For Repair
Preparing an inflatable pool toy for repair is a crucial first step. Proper preparation ensures the patch sticks well and lasts longer. It also helps identify the exact spot that needs fixing. Taking your time during this phase saves effort later.
Cleaning The Surface
Start by removing dirt, sand, and debris from the toy’s surface. Use a soft cloth and mild soap with water. Gently scrub the area around the damage. Avoid harsh chemicals that can weaken the material. Clean surfaces help the adhesive bond better.
Drying Thoroughly
After cleaning, dry the toy completely. Use a clean towel to soak up water. Let it air dry for a while to remove any moisture inside the material. Patches stick best to dry surfaces. Avoid using heat sources that may damage the plastic.
Locating The Damage
Find the exact hole or tear before applying a patch. Inflate the toy and listen for hissing sounds. If unsure, submerge small sections in water and watch for bubbles. Mark the damaged area with a waterproof marker. Accurate location helps apply the patch correctly.
Fixing Small Punctures
Small punctures in inflatable pool toys can quickly turn a fun day at the pool into a frustrating experience. Luckily, these minor damages are usually easy to fix with the right approach and materials. Understanding how to repair these tiny holes can save you money and extend the life of your favorite pool toy.
Applying A Patch
Start by locating the puncture and fully deflating the toy. Clean the area around the hole with rubbing alcohol to remove dirt and oils. This helps the patch stick better and last longer.
Cut a patch slightly larger than the puncture from a repair kit or a similar vinyl material. Round the edges of the patch to prevent peeling. Apply a thin layer of adhesive (if not pre-glued) on the patch and press it firmly over the hole.
Use a flat object to smooth out air bubbles and ensure strong contact. Let the patch dry according to the adhesive instructions, usually several hours. After drying, gently press around the edges to confirm the patch is secure before reinflating the toy.
Using Glue For Tiny Holes
For very small holes or pinpricks, glue alone can be an effective fix. Make sure the area is dry and clean before applying. A waterproof vinyl glue or a specialized adhesive from an inflatable repair kit works best.
Apply a small amount of glue directly onto the hole using a toothpick or cotton swab. Avoid using too much glue, as it can create lumps that affect the toy’s comfort and appearance. Allow the glue to dry completely, which may take a few hours.
Test the repair by gently pressing the patched area. If it feels secure, slowly reinflate the toy and check for any air leaks. This simple fix often restores the toy’s usability quickly without the need for a patch.
Repairing Valve Problems
Check the valve for dirt or damage before repairing. Use a patch kit to seal leaks around the valve area. Ensure the valve is fully closed to prevent air loss after repair.
Inflatable pool toys can bring joy and excitement. But valve problems can deflate your fun. Understanding how to fix valve issues is essential. It ensures your toys stay afloat and ready for play.
Replacing The Valve
To replace a faulty valve, first deflate the toy completely. Identify the type of valve it uses. Common types are Boston or pinch valves. Purchase a compatible replacement valve from a store. Carefully remove the old valve by pulling it out. Insert the new valve into the opening. Ensure it’s secure and tight. Inflate the toy to check for any leaks.
Sealing Valve Leaks
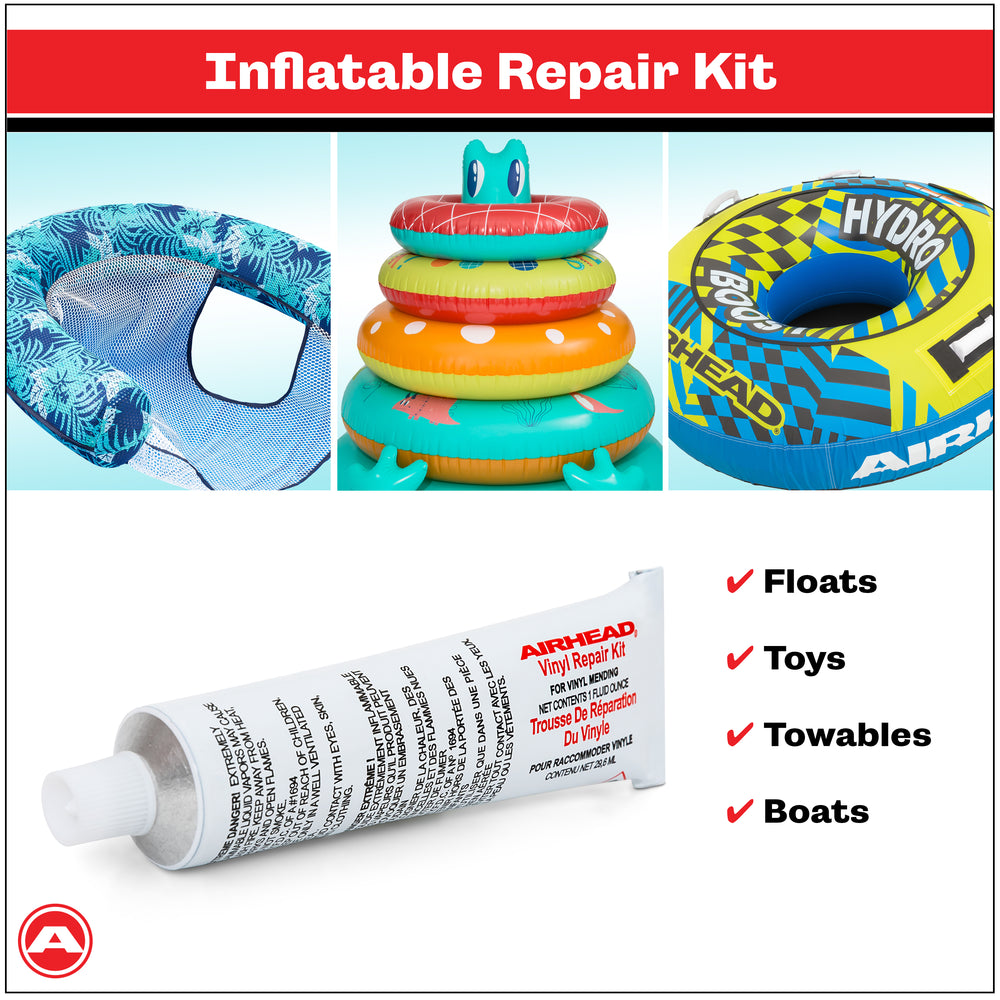
Leaky valves can ruin playtime. First, locate the leak by listening for hissing. Apply soapy water if needed. Bubbles will show the leak. Use a patch kit for small holes. Clean and dry the area around the leak. Apply adhesive and press the patch down firmly. Wait for it to dry completely. Inflate the toy again to test the repair.

Credit: www.amazon.com
Sealing Seam Tears
Sealing seam tears on inflatable pool toys requires cleaning the area and applying a strong adhesive patch. Press firmly to ensure no air escapes. Let it dry completely before use to keep the toy safe and functional.
Sealing seam tears in inflatable pool toys can feel like a daunting task, but it’s a skill worth mastering to save your summer fun. Picture this: a lazy afternoon in your backyard, the sun shining, and your kids happily splashing around. Suddenly, you notice a slow leak in their favorite inflatable toy. Panic sets in, but with the right techniques, you can handle this like a pro. Let’s dive into two effective methods to seal those pesky seam tears.
Using Heat Or Glue
When dealing with seam tears, using heat or glue can be your first line of defense. Heat sealing is particularly effective for thicker materials. You can use a hairdryer or a heat gun to gently heat the torn seam, pressing it together until it bonds. If heat isn’t an option, glue provides an excellent alternative. Look for a waterproof adhesive specifically designed for inflatables. Apply a thin layer of glue to the seam, press it together, and let it dry completely before inflating. This method works well for smaller tears and ensures a strong, lasting fix.
Reinforcing With Extra Patches
Sometimes, a simple seal isn’t enough, and you need to reinforce the area with extra patches. This step is crucial for larger tears or when you need extra durability. Start by cutting a patch slightly larger than the tear. Apply adhesive around the tear and place the patch over it, pressing firmly to ensure a secure bond. Many repair kits come with patches, but you can also use a sturdy piece of vinyl. This added layer not only seals the tear but also prevents future leaks, ensuring your pool toys last longer. Have you ever wondered why some repairs fail while others last? Often, it’s the extra reinforcement that makes all the difference. Taking a few extra minutes to apply a patch can save hours of frustration later.
Tips For Long-lasting Repairs
Making repairs on inflatable pool toys last longer requires simple care and smart habits. Small efforts in daily use and storage can protect your toys from damage. Follow these tips to keep your repairs strong and your pool toys ready for fun.
Proper Inflation Levels
Keep your inflatable toys at the right pressure. Too much air stretches the material and weakens seams. Too little air causes sagging and stress points. Check the toy’s instructions for the best inflation level.
- Use a pump with a pressure gauge for accuracy.
- Inflate slowly to avoid overfilling.
- Check air pressure regularly, especially on hot days.
- Release some air if the toy feels too hard or stiff.
Storage Recommendations
Store your pool toys carefully to prevent damage and wear. Proper storage keeps the repairs intact and the toy in good shape for next use.
- Clean and dry the toy completely before storing.
- Fold gently without sharp creases or bends.
- Keep toys in a cool, dry place away from direct sunlight.
- Avoid placing heavy items on top of stored toys.
- Use a storage bag or container to protect from dust and pests.
When To Replace The Toy
Knowing when to replace your inflatable pool toy can save you time, money, and hassle. Not every tear or leak means the end, but some damages go beyond simple fixes. Recognizing the signs that a toy has outlived its usefulness is key to keeping your pool fun safe and enjoyable.
Assessing Repair Limits
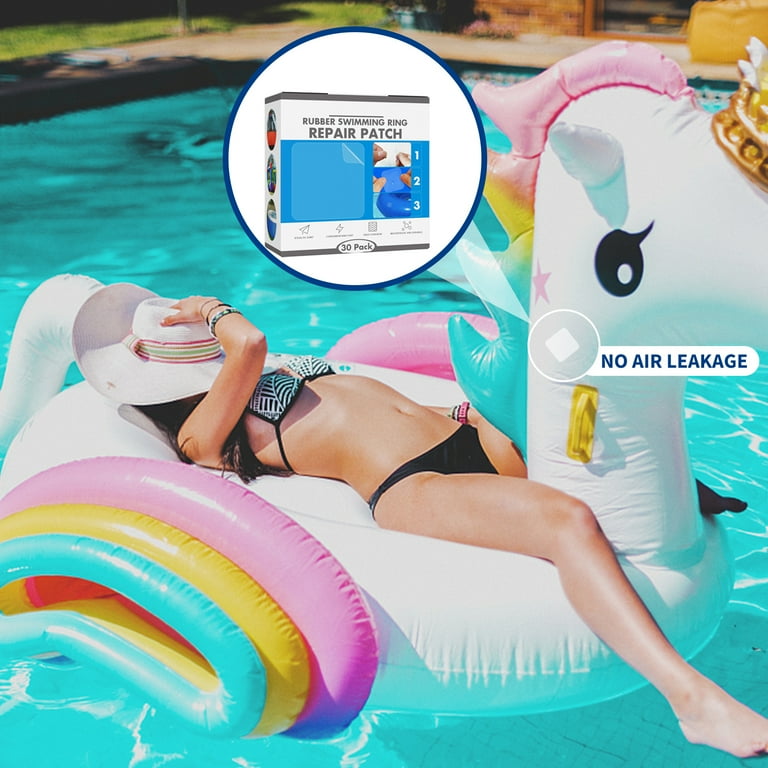
Small punctures and tears can often be patched easily with repair kits. But if the damage spreads over a large area or involves multiple spots, repairs might not hold well.
Look closely at the seams and the material around the damage. If the vinyl feels brittle or the seams are separating, the toy likely won’t stay inflated for long even after a patch.
Ask yourself: Is the cost and effort of repairing worth it compared to buying a new one? Sometimes, replacing is more practical and less frustrating.
Safety Considerations
Your safety and that of your family comes first. Inflatable toys with compromised integrity can suddenly deflate, posing drowning or injury risks.
Check for hidden damage like weakened spots that might burst under pressure. If the toy loses air quickly or leaks repeatedly after repairs, it’s time to stop using it.
Remember, a well-maintained toy is safer and more fun. Don’t risk your enjoyment by holding onto something that could fail unexpectedly.
Credit: www.walmart.com
Frequently Asked Questions
How Do I Fix Small Holes In Inflatable Pool Toys?
To fix small holes, clean the area and dry it completely. Apply a vinyl patch or repair kit. Press firmly and let it cure for several hours before use.
What Materials Are Best For Repairing Pool Toy Leaks?
Use vinyl repair kits or waterproof adhesive patches. These materials bond well with inflatable surfaces and provide durable, waterproof seals. Avoid using regular tape or glue.
Can I Repair Inflatable Pool Toys Without A Patch Kit?
Yes, you can use household items like duct tape temporarily. However, for a lasting fix, a proper vinyl repair kit is recommended to ensure durability and safety.
How Long Does It Take To Repair An Inflatable Pool Toy?
Repairs typically take 10 to 30 minutes, excluding drying time. Vinyl patches need several hours to cure fully before inflating the toy again.
Conclusion
Repairing inflatable pool toys is easier than it seems. Small holes or leaks do not mean the end of fun. Use the right patch kit and follow simple steps carefully. Take your time and clean the area well before fixing.
Let the patch dry completely to avoid more leaks. With a little care, your toys will stay ready for play. Saving money and waste feels good, too. Keep these tips handy for a quick fix anytime. Enjoy your pool toys longer and keep the fun going!