



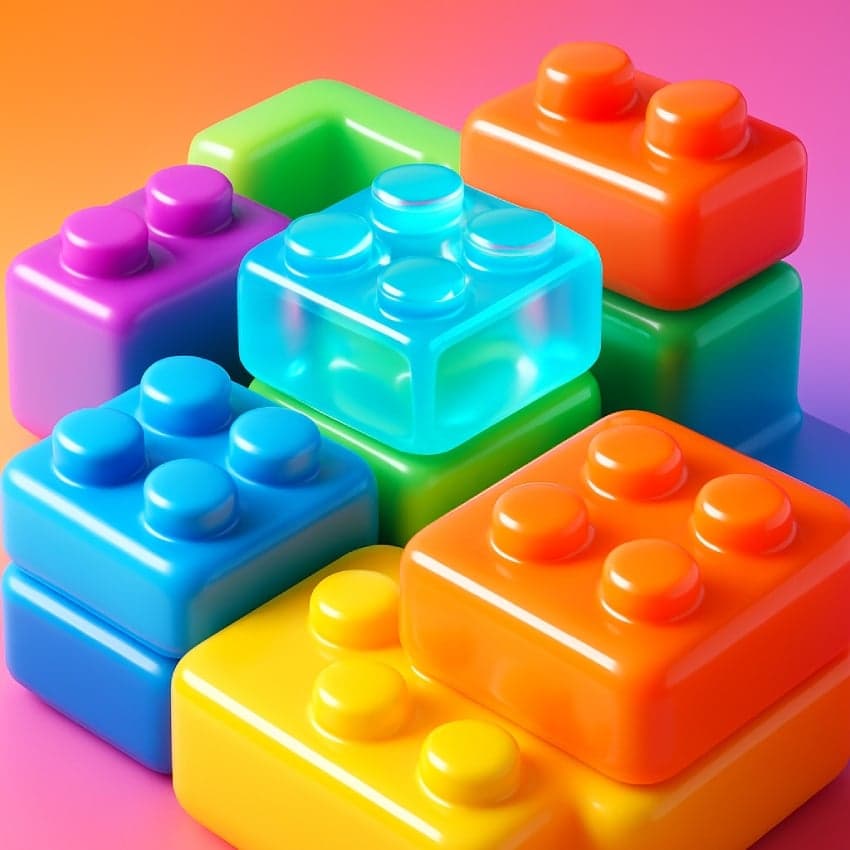
Have you ever wanted to create your own 3D toy block without expensive tools? Imagine designing a colorful, realistic block right on your computer, step by step.
In this guide, you’ll learn how to make a 3D toy block in Photoshop, even if you’re new to the software. By the end, you’ll have a cool, eye-catching design that you can use for games, projects, or just for fun.
Ready to turn your ideas into a vibrant 3D block? Let’s get started!
Setting Up Your Workspace
Before you start making a 3D toy block in Photoshop, set up your workspace. A clean workspace helps you work faster and better.
Organize tools and choose the right canvas size. These steps will make your work easier and clearer.
Choosing The Right Canvas Size
Select a canvas size that fits your project. For a 3D toy block, a square canvas works best.
A 1000×1000 pixel canvas gives enough space to add details. Bigger sizes need more computer power.
- Use 1000×1000 pixels for clear details
- Choose 72 dpi for screen use
- Increase size if you want to print the block
Organizing Panels And Tools
Arrange your panels and tools to keep your workspace tidy. This saves time and avoids confusion.
Keep the Layers, Properties, and Tools panels visible. Hide panels you don’t use often.
- Place Layers panel on the right side
- Keep Tools panel on the left side
- Use the Properties panel for quick settings
- Close unused panels to avoid clutter

Credit: www.reddit.com
Creating The Basic Block Shape
To make a 3D toy block in Photoshop, you first need to create its basic shape. This shape forms the base of your block.
Start by drawing a simple square and then add depth to give it a 3D look. This guide explains how to do both steps clearly.
Drawing A Square Base
Open a new Photoshop file and select the Rectangle Tool. Hold the Shift key to draw a perfect square.
Choose a bright color for your square. This will help you see the block shape clearly as you work.
- Select the Rectangle Tool (U) from the toolbar.
- Hold Shift and drag to create a square.
- Fill the square with your chosen color.
- Use the Move Tool (V) to position the square if needed.
Adding Depth With 3d Tools
Use Photoshop’s 3D tools to turn your flat square into a block with depth. This step makes the shape look like a real toy block.
Convert your square layer to a 3D postcard and then adjust the extrusion depth. This adds thickness to the block.
- Right-click the square layer and choose “New 3D Extrusion from Selected Layer.”
- In the 3D panel, increase the extrusion depth to add thickness.
- Use the 3D axis controls to rotate the block and see its shape.
- Adjust lighting to highlight the block’s 3D form.
Adding Texture And Color
Creating a 3D toy block in Photoshop needs good texture and color. These help the block look real and interesting.
Using the right colors and adding patterns can make your block stand out and feel more lifelike.
Selecting Colors For Realism
Choose colors that match real toy blocks. Use soft, bright colors like red, blue, yellow, or green.
Use shading to add depth. Darker shades show shadows, and lighter shades show light on the block.
- Pick primary colors for a classic look
- Use darker tones for shadow areas
- Apply lighter tones for highlights
- Keep colors simple and clear
Applying Patterns And Textures
Add patterns like small scratches or plastic grain to make the block feel real. Use texture overlays in Photoshop.
Use blending modes like Overlay or Soft Light to mix textures with your colors smoothly.
- Find plastic or wood textures online
- Place texture layers over the block shape
- Adjust opacity for subtle effects
- Use layer masks to control texture areas
- Apply soft shadows for 3D depth
Shading And Lighting Effects
Shading and lighting make a 3D toy block look real in Photoshop. They add depth and show the block’s shape clearly.
By using shadows and highlights, you can create the illusion of light hitting the block. This helps the block stand out on your design.
Using Shadows For Depth
Shadows give the block a sense of space and thickness. They show which parts are farther from the light source.
In Photoshop, use a soft brush or the drop shadow effect. Place shadows on the block’s edges and under parts that stick out.
- Use darker shades on the block’s sides away from light
- Add soft shadows under the block to show it sits on a surface
- Keep shadows consistent with your light source direction
Highlighting Edges And Surfaces
Highlights show where light hits the block directly. They make edges and surfaces look shiny and solid.
Use a small, bright brush to paint highlights on the block’s corners and flat areas facing the light.
- Apply light colors to top edges and raised surfaces
- Use a soft brush to blend highlights smoothly
- Avoid overdoing highlights to keep the look natural
Detailing The Toy Block Features
Adding details to your 3D toy block makes it look more real. Small features bring the block to life in Photoshop.
Focus on the block’s studs and surface texture. These parts give the toy its classic look and feel.
Creating Studs On Top
Start by making the small round studs on the block’s top. Use the ellipse tool to draw perfect circles.
Add shadows and highlights to each stud. This will make them look three-dimensional and shiny.
- Create a new layer for the studs
- Draw circles evenly spaced on the block surface
- Use layer styles like bevel and emboss
- Add a soft shadow under each stud
- Paint small highlights for light reflection
Adding Wear And Tear Effects
Wear and tear make the toy block look used and real. Add scratches and color fading on the edges.
Use textured brushes to paint small dents and scuffs. Lower the layer opacity for a subtle effect.
- Choose rough brushes in Photoshop
- Paint light scratches on block corners
- Use eraser with low opacity for worn paint
- Apply a noise filter for surface texture
- Blend effects gently to keep realism

Credit: www.reddit.com
Final Adjustments And Exporting
After creating your 3D toy block in Photoshop, it is important to make final adjustments. These changes will improve the overall look and prepare your design for saving. Proper exporting keeps your work safe and ready to use.
This section covers how to review and refine details and how to save your file in different formats.
Reviewing And Refining Details
Look closely at your 3D toy block for any mistakes or areas that need improvement. Check edges, shadows, and colors to make sure they look smooth and real.
Use Photoshop tools like the zoom tool to see small parts. Fix any rough edges or color spots. Adjust lighting to make the block pop more.
- Zoom in to check fine details
- Smooth any rough or jagged edges
- Balance shadows and highlights
- Correct color inconsistencies
- Ensure shapes look 3D and natural
Saving In Different Formats
Save your 3D toy block in multiple file formats. Each format has a special use. Choose the right one for printing, web use, or editing later.
Keep a Photoshop file (PSD) to keep all layers and effects. Export a PNG or JPEG for sharing or uploading online.
- PSD:Keeps layers and allows easy editing
- PNG:Supports transparency for web use
- JPEG:Smaller size, good for photos and web
- TIFF:High quality for printing

Credit: www.youtube.com
Frequently Asked Questions
How Do I Start Creating A 3d Toy Block In Photoshop?
Begin by opening a new document and using the Rectangle Tool to create a cube base. Next, apply shading and perspective effects to add depth and realism to your 3D toy block.
Which Photoshop Tools Are Best For 3d Block Design?
Use the Rectangle Tool for shapes, the Pen Tool for custom edges, and Layer Styles like Bevel & Emboss for 3D effects. These tools help create realistic toy blocks with shadows and highlights.
Can I Customize Colors On My 3d Toy Block?
Yes, you can easily customize colors using the Fill and Gradient tools. Adjust the hues on each face of the block to match your desired style and make it vibrant.
How Do I Add Texture To A 3d Toy Block?
Apply texture by using Photoshop’s Pattern Overlay or importing texture images. This enhances the block’s surface, making it look more realistic and visually appealing.
Conclusion
Creating a 3D toy block in Photoshop is easier than it seems. Follow each step slowly and carefully. Practice helps you get better and faster. You can change colors and shapes to make it unique. This skill adds fun to your digital projects.
Try making different blocks and build your own set. Keep experimenting and enjoy the creative process. Soon, you will make cool 3D designs with confidence.