



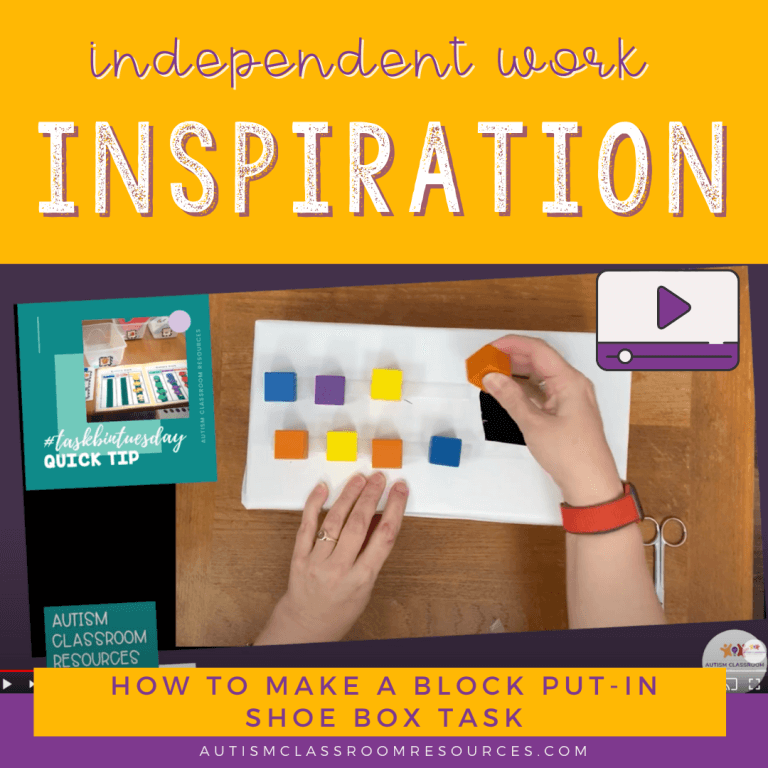
Are you looking for a fun and creative way to keep your kids entertained without spending a lot of money? Making toy blocks out of shoe boxes is a simple and exciting project you can do at home.
Not only will you recycle old materials, but you’ll also create colorful, sturdy blocks that spark your child’s imagination. Keep reading, and you’ll discover easy steps to turn ordinary shoe boxes into a playful treasure your kids will love. Ready to get started?
Let’s dive in!
Materials Needed
Making toy blocks out of shoe boxes is a fun and creative project. You can reuse old shoe boxes to make colorful blocks for kids.
Before starting, gather all the materials you will need. This helps keep your work area neat and makes the project easier.
Collecting Shoe Boxes
Shoe boxes come in different sizes and shapes. Try to collect boxes that are similar in size for better block stacking.
Look for shoe boxes that are clean and sturdy. Avoid boxes that are torn or very soft.
- Check at home for old shoe boxes
- Ask friends or family for their unused boxes
- Visit local stores that may give away empty boxes
- Choose boxes with lids for extra stability
Additional Craft Supplies
You will need some basic craft supplies to decorate and strengthen the shoe boxes. These supplies help make the blocks safe and colorful.
- Colored paper or wrapping paper for covering
- Glue or double-sided tape to stick papers
- Scissors for cutting paper and tape
- Markers or crayons to add designs
- Clear tape to reinforce edges
- Optional: stickers or stamps for decoration
Having these supplies ready will make the crafting process smooth and enjoyable.
Preparing The Boxes
Making toy blocks from shoe boxes starts with good preparation. Clean and cut the boxes carefully.
Strong edges help the blocks last longer. Take time to reinforce them well.
Cleaning And Cutting
First, remove any stickers or labels from the shoe boxes. Wipe the boxes with a damp cloth to clear dirt.
Use scissors or a box cutter to cut the boxes into block shapes. Cut slowly to keep edges smooth.
- Remove tape and labels
- Wipe with a damp cloth
- Cut into square or rectangular blocks
- Make smooth, even edges
Reinforcing Edges
Edges can bend or tear easily. Use tape or glue to make them stronger.
Apply clear tape along all edges. Press the tape firmly to avoid bubbles or wrinkles.
- Use strong clear tape or packing tape
- Cover all box edges carefully
- Press tape firmly to stick well
- Let glue dry completely before use
Designing The Blocks
Making toy blocks from shoe boxes is a fun and creative project. Designing the blocks well makes them enjoyable to play with.
You can design the blocks by choosing their shapes, sizes, colors, and patterns. This gives each block a unique look.
Choosing Shapes And Sizes
Start by deciding the shapes of your blocks. Simple shapes like squares and rectangles work best.
Vary the sizes to make stacking and building more interesting. Use small, medium, and large boxes.
- Cut shoe boxes into square or rectangular pieces
- Keep some blocks small for detailed building
- Use bigger pieces for strong base blocks
- Make sure blocks are easy to hold for kids
Adding Colors And Patterns
Add colors to make the blocks attractive. Use paint, markers, or colored paper for decoration.
Patterns make the blocks more fun. Try stripes, dots, or simple shapes to decorate each block differently.
- Paint blocks in bright, cheerful colors
- Use tape or stickers for easy patterns
- Mix solid colors and patterns for variety
- Make sure colors are safe and non-toxic
Decorating Techniques
Making toy blocks from shoe boxes is a fun project for kids and adults. Decorating these blocks makes them colorful and exciting to play with.
You can use many decorating ideas to make your blocks stand out. Painting, stickers, and markers are easy ways to add style.
Painting Tips
Painting shoe box blocks gives them bright and lasting colors. Use safe, water-based paints to keep the project safe for children.
Before painting, clean the shoe boxes and let them dry. Use a light coat of paint for smooth coverage. Let each layer dry before adding more paint.
- Use acrylic or tempera paint for best results
- Apply primer for better paint adhesion
- Paint small sections at a time for neatness
- Use foam brushes or sponges for smooth finish
- Let paint dry completely before stacking blocks
Using Stickers And Markers
Stickers add fun shapes and designs quickly. Pick stickers that are easy to peel and stick on cardboard surfaces.
Markers help you draw details or write letters on your blocks. Use permanent markers for bright, long-lasting lines.
- Choose colorful stickers for variety
- Draw simple shapes or patterns with markers
- Write letters or numbers for learning blocks
- Seal with clear tape to protect decorations
- Let ink dry before stacking or playing
Assembling The Blocks
Making toy blocks from shoe boxes is fun and easy. The next step is to put the blocks together. This makes them strong and ready to play with.
There are different ways to join the blocks. You can stack and glue them or create interlocking features for more fun.
Stacking And Gluing
Start by stacking the shoe boxes carefully. Make sure the edges line up well. This helps the blocks stay steady.
Use glue to hold the blocks together. Apply glue on the edges and press firmly. Let the glue dry before moving the blocks.
- Use strong glue like white craft glue or hot glue
- Press the blocks together for at least 30 seconds
- Allow drying time of 1-2 hours for best results
Creating Interlocking Features
Cut small tabs or slots on the shoe boxes to make them fit together. This lets the blocks lock without glue.
Measure and cut carefully so the tabs fit snugly. This makes the blocks easy to join and take apart.
- Cut tabs about 1 inch wide and 0.5 inch deep
- Create matching slots on other blocks
- Test fit before gluing or decorating
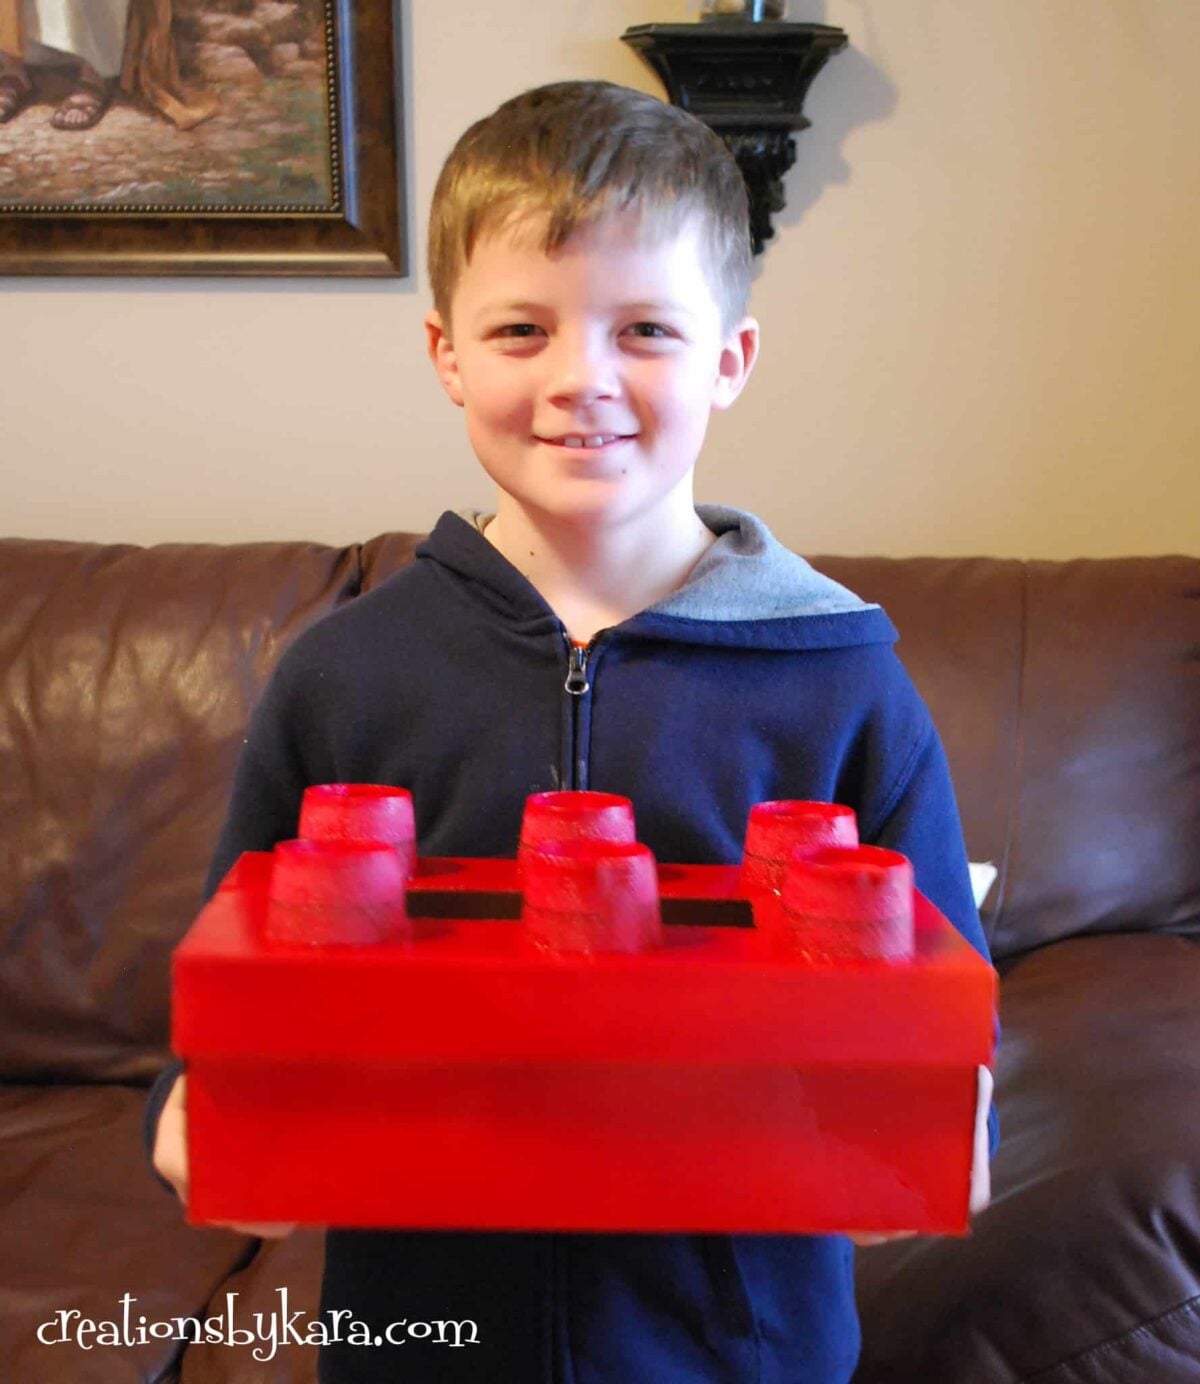
Credit: www.creationsbykara.com
Safety Considerations
Making toy blocks from shoe boxes is a fun project for kids and adults. Safety is very important to keep playtime safe and happy.
Careful choices in materials and construction help prevent injuries and health problems.
Non-toxic Materials
Always use non-toxic glue, paint, and markers. These materials are safe if children put blocks in their mouths.
Check labels to make sure all products are child-safe and free from harmful chemicals.
- Choose water-based glue or adhesive
- Use non-toxic, water-based paint or crayons
- Avoid materials with strong smells or fumes
- Pick markers labeled safe for children
Smooth Edges And Durability
Shoe boxes often have sharp edges or corners. Sand or cover these edges to avoid cuts or scratches.
Make sure blocks are strong and hold together well. Weak blocks can break and create choking hazards.
- Cut edges carefully and sand with fine sandpaper
- Cover edges with tape or paper for extra softness
- Reinforce blocks with extra layers of cardboard
- Test blocks by gently pressing to check strength
Play Ideas With Blocks
Shoe box blocks are fun and easy to make. Kids can use them to play many creative games.
These blocks help children learn while having fun. They can build, sort, and imagine new worlds.
Building Structures
Children can stack shoe box blocks to build towers, houses, or castles. This helps improve their hand-eye coordination.
Encourage kids to use different block sizes and shapes. This sparks creativity and problem-solving skills.
- Build tall towers and see how high they go
- Create bridges connecting blocks
- Make walls and rooms for toy figures
- Try building shapes like squares and rectangles
Educational Games
Shoe box blocks can be used for simple educational games. These games teach counting, colors, and sorting.
Use blocks to practice math or learn new words. Kids enjoy learning through hands-on activities.
- Count blocks as you stack them
- Sort blocks by size or color
- Use blocks to spell simple words
- Play matching games with patterns on blocks

Credit: rangerrick.org
Storage And Maintenance
Toy blocks made from shoe boxes can last longer with proper care. Keeping them clean and organized helps children play safely.
Good storage and maintenance also keep the blocks looking nice. It makes it easy to find and use them again.
Keeping Blocks Organized
Store your shoe box blocks in a dry, cool place. This stops them from getting damaged or wet.
Use labels on each box to know what blocks are inside. This saves time and keeps the play area tidy.
- Stack blocks by size or color
- Use clear boxes for easy viewing
- Keep blocks off the floor to avoid dirt
- Set a regular spot for the blocks after play
Cleaning Tips
Clean shoe box blocks often to avoid dust and germs. Use a dry cloth to wipe the surfaces gently.
If the blocks get sticky, use a slightly damp cloth with mild soap. Let them dry fully before storing.
- Do not soak the blocks in water
- Avoid harsh cleaners that damage cardboard
- Check for worn edges and fix with tape
- Keep blocks away from pets and food

Credit: www.youtube.com
Frequently Asked Questions
How Do I Prepare Shoe Boxes For Toy Blocks?
Clean and dry shoe boxes thoroughly before use. Remove any stickers or labels. Flatten edges if needed for easy stacking. This ensures a safe and neat foundation for your toy blocks.
What Materials Are Needed Besides Shoe Boxes?
You need scissors, tape or glue, paint or markers, and decorative paper. These materials help cut, assemble, and decorate the blocks for a fun look.
How To Make Shoe Box Blocks Safe For Kids?
Use non-toxic paint and child-safe glue. Avoid sharp edges by covering corners with tape. Ensure blocks are sturdy but lightweight to prevent injuries.
Can I Customize Shoe Box Toy Blocks?
Yes, decorate blocks with colorful paint, stickers, or paper. Personalize with letters, numbers, or shapes to make learning fun and interactive.
Conclusion
Making toy blocks from shoe boxes is fun and simple. It saves money and helps the environment. Kids enjoy playing with blocks they helped create. You only need a few materials and some time. These blocks can be painted or decorated any way you like.
This craft teaches creativity and recycling at the same time. Try this project for a rainy day or a family activity. Everyone will love the colorful, homemade blocks. Give it a go and see how easy it can be!