



Have you ever faced the frustration of a leaking inflatable toy just when you or your kids were ready to have fun? It’s a common problem, but the good news is you don’t have to throw it away or buy a new one.
You can easily repair your plastic inflatable toy and bring it back to life. In this guide, you’ll discover simple, step-by-step tips that anyone can follow to fix those annoying holes and tears. Keep reading, and you’ll save money while making sure your favorite inflatable is ready for your next adventure.
Common Damage Types
Plastic inflatable toys bring joy but face damage often. Understanding common damage types helps fix them fast. Most issues fall into three groups: punctures and holes, seam tears, and valve problems.
Punctures And Holes
Punctures happen from sharp objects like nails or thorns. Holes cause slow or fast air leaks. They can be tiny or large. Small punctures need patching with repair kits. Larger holes might require stronger patches or glue. Finding leaks is key to repair. Soapy water helps spot bubbles showing leaks.
Seam Tears
Seams hold inflatable parts together. Tears occur from stress or aging. These splits lead to air escaping quickly. Repair needs special patches made for seams. Clean the area well before fixing. Press patches firmly to seal tears tight. Sometimes, sewing with heavy thread helps before patching.
Valve Issues
Valves control air flow in and out. Problems include cracks, broken caps, or stuck valves. A broken valve causes air loss even if toy looks fine. Check valves carefully for damage. Replace broken valves or clean stuck ones. Proper valve function keeps the toy inflated longer.
Essential Repair Tools
Repairing a plastic inflatable toy requires the right tools for a strong fix. Essential tools make the process easier and the repair longer-lasting. Having these items ready saves time and effort. This guide covers the must-have tools for any inflatable toy repair.
Patch Kits
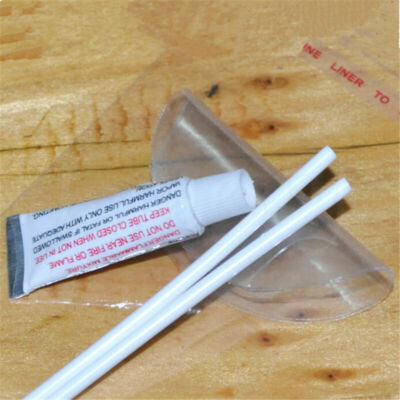
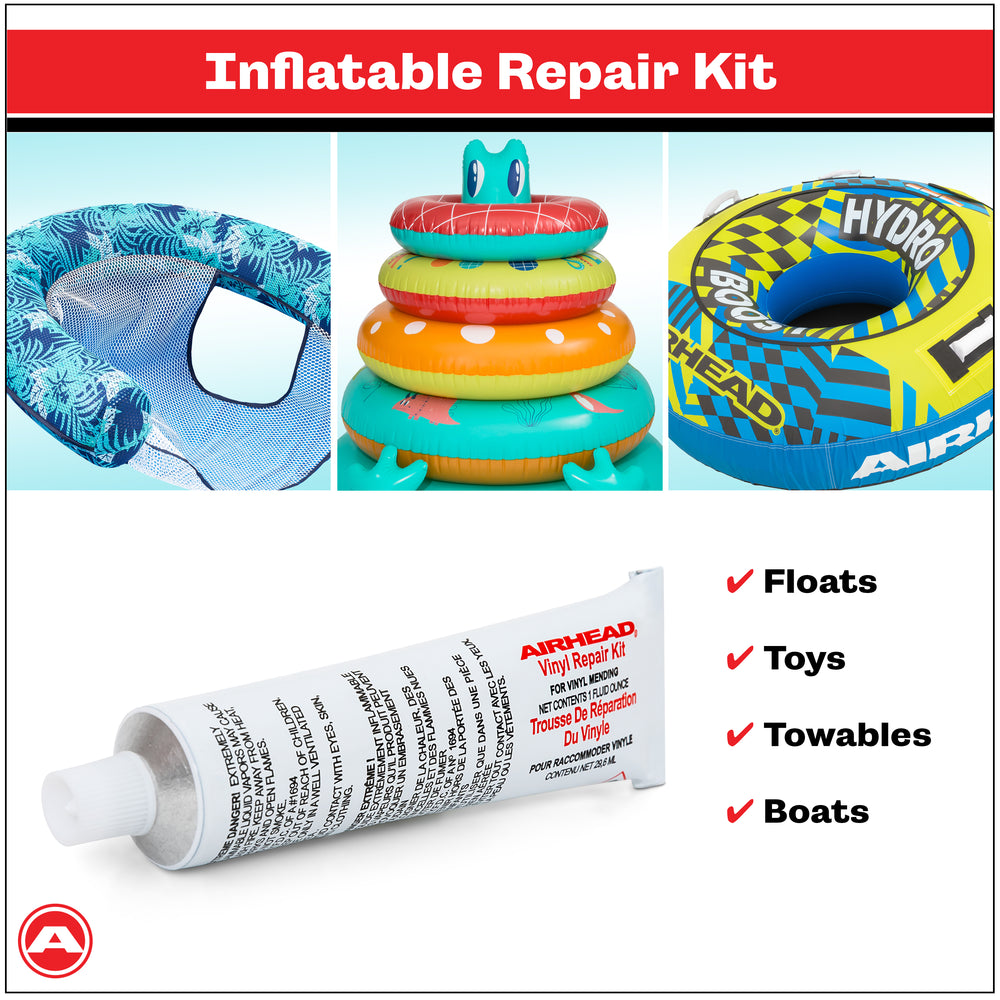
Patch kits are specially made for inflatable toys. They include patches and instructions for use. Most kits come with vinyl or plastic patches that match the toy’s material. Patches stick tightly to holes or tears. Choose a patch kit designed for inflatables to ensure a good seal.
Adhesives
Adhesives hold patches firmly in place. Use glue made for vinyl or plastic materials. Some adhesives dry clear and flexible, which helps keep the toy soft. Avoid regular glue, as it can crack or peel off. A strong adhesive creates a waterproof and air-tight bond.
Cleaning Supplies
Cleaning the repair area is important before fixing. Use mild soap and water to remove dirt and oils. Rubbing alcohol can help wipe the spot clean and dry quickly. Clean surfaces improve patch adhesion and prevent leaks. Always let the area dry completely before applying glue or patches.
Preparing The Toy
Proper preparation is key before repairing a plastic inflatable toy. It ensures the patch or glue sticks well and the repair lasts longer. Taking time to prepare the toy carefully avoids common mistakes and weak fixes.
Focus on making the surface clean, dry, and free of air. This creates the best environment for repair materials to bond with the toy’s plastic.
Deflating Completely
Start by letting all the air out of the toy. Press gently to push air from every part. A flat surface helps spot leaks and damaged areas easily. Without air, the plastic lays smooth and ready for repair.
Cleaning The Area
Use a soft cloth and mild soap to clean the damaged spot. Remove dirt, dust, and grease that block glue from sticking. Avoid harsh cleaners that might damage the plastic. Rinse with clean water after washing.
Drying Thoroughly
Let the cleaned area dry fully before starting the repair. Use a towel to absorb water. Air dry in a warm spot away from direct sunlight. Any moisture left can weaken the patch or glue bond.
Fixing Small Punctures
Fixing small punctures in a plastic inflatable toy is simple. First, identify the leak by submerging the toy in water. Look for bubbles. Mark the spot, dry it, and apply a patch with strong adhesive. Allow it to set before inflating the toy again.
Fixing small punctures in a plastic inflatable toy is often simple. These punctures can happen from sharp objects or rough play. Luckily, with the right steps, you can easily repair these tiny leaks and extend the toy’s life.Applying Patch
Begin by cleaning the area around the puncture. Use mild soap and water. Dry the area completely. Select a patch that matches the toy’s material. Cut the patch slightly larger than the hole. Apply adhesive to the patch and the toy’s surface. Press the patch firmly over the puncture. Smooth out any bubbles or wrinkles.Using Glue For Sealing
For very small holes, glue can be effective. Choose a glue suitable for plastics. Clean and dry the affected area. Apply a small amount of glue to the hole. Spread the glue evenly with a small brush. Ensure the glue covers the entire puncture.Curing Time
Allow ample time for the patch or glue to cure. This ensures a strong seal. Check the product instructions for exact curing times. Typically, wait at least 24 hours. During this period, keep the toy in a dry, cool place. Avoid inflating the toy until the curing is complete. This will ensure a durable repair.Repairing Larger Tears
Repairing larger tears on a plastic inflatable toy needs care and patience. Big rips can let out a lot of air fast. Fixing them properly helps the toy last longer and stay safe to use.
Aligning The Tear
First, clean the area around the tear with mild soap and water. Let it dry completely. Gently bring the torn edges together so they match up as closely as possible. Avoid stretching the plastic. Hold the edges steady to prepare for patching.
Reinforcing With Patches
Choose a patch made for inflatable plastics or vinyl. Cut the patch larger than the tear, with at least one inch extra around all sides. Apply glue or adhesive designed for plastic inflatables. Press the patch firmly over the tear. Smooth out air bubbles and wrinkles. For extra strength, add a second patch on the inside if accessible.
Testing For Leaks
Wait the recommended time for the adhesive to dry. Inflate the toy slowly and check around the patch for air leaks. Use soapy water and watch for bubbles forming. If bubbles appear, press the patch again or add another layer. Only use the toy once it holds air well and feels secure.

Credit: www.youtube.com
Valve Maintenance And Repair
Keeping the valve of your plastic inflatable toy in good shape is key to its performance. The valve controls air flow, so any damage or blockage can cause leaks or difficulty inflating. Paying close attention to valve maintenance and repair can save you from frustrating moments and extend the life of your toy.
Checking Valve Function
Start by examining the valve for any visible cracks or debris. Try inflating the toy and listen for hissing sounds that indicate air is escaping. If the valve feels stiff or won’t close properly, it might be clogged or damaged.
Did you know even small dirt particles can block the valve’s sealing mechanism? Cleaning it gently with a soft cloth or compressed air often restores smooth operation. Make sure the valve flap moves freely and seals tightly after inflation.
Replacing Valve Parts
If the valve is broken or worn out, replacing parts may be necessary. Many inflatable toys have valves that screw off or pop out for easy replacement. Check the manufacturer’s website or local stores for compatible valve kits.
Keep spare valve parts on hand if your toy sees heavy use or outdoor play. Swapping out a faulty valve is usually straightforward and can prevent the whole toy from becoming unusable. Have you ever tried fixing a valve yourself and been surprised by how simple it was?
Sealing Around The Valve
Leaks often occur at the valve’s base where it connects to the toy. Inspect this area closely for gaps or worn seals. Applying a specialized inflatable repair adhesive or sealant can stop air from escaping.
Use a thin layer of sealant and allow it to dry completely before testing inflation. Avoid regular glue since it can damage the plastic or fail to hold air. A well-sealed valve ensures your toy stays firm and ready for fun without constant reinflation.
Tips For Preventing Future Damage
Preventing damage to your plastic inflatable toy helps it last longer. Small care habits keep it in good shape. Follow simple tips to avoid tears and leaks. Proper care saves time and money on repairs.
Proper Storage
Store the inflatable toy in a cool, dry place. Avoid direct sunlight to prevent plastic from weakening. Keep it away from sharp objects or rough surfaces. Use a soft bag or box for protection. Deflate the toy completely before storing to save space and avoid stress on seams.
Careful Usage
Use the toy on smooth, clean surfaces only. Avoid dragging it on gravel or rough ground. Do not overinflate; follow the recommended air pressure. Keep pets away to prevent accidental punctures. Handle the toy gently to avoid stressing the plastic.
Regular Inspections
Check your toy for small holes or weak spots often. Look for signs of wear along seams and valves. Fix small leaks immediately to stop bigger damage. Use soapy water to find hidden air leaks. Regular checks keep the toy safe and ready to use.
Credit: www.ebay.com
Credit: bawaruba.com
Frequently Asked Questions
How Do I Find The Leak In A Plastic Inflatable Toy?
To find a leak, submerge the toy in water and watch for bubbles. Alternatively, apply soapy water on the surface. Bubbles will appear where air escapes, pinpointing the leak’s location quickly and effectively.
What Materials Are Best For Repairing Inflatable Plastic Toys?
Use vinyl repair kits or strong adhesive patches made for plastics. These materials ensure a waterproof and durable fix, restoring the toy’s function without compromising safety or appearance.
Can I Use Household Glue To Fix Inflatable Toys?
Household glue is usually not suitable as it lacks waterproof properties. Use a vinyl repair adhesive designed for inflatables to ensure a strong, lasting seal on plastic surfaces.
How Long Does It Take For An Inflatable Toy Repair To Dry?
Drying time varies by adhesive but typically ranges from 2 to 24 hours. Follow the product instructions for best results to ensure the patch bonds securely and the toy holds air properly.
Conclusion
Repairing a plastic inflatable toy is simple and saves money. Clean the damaged area well before you start. Use the right patch or glue for best results. Press firmly and let it dry completely. Check for leaks by gently inflating the toy.
Small tears heal quickly with care and patience. A fixed toy lasts longer and stays safe to use. Keep repair materials handy for future quick fixes. Enjoy your inflatable toy again without buying a new one. Easy steps make repair work less stressful and more rewarding.