



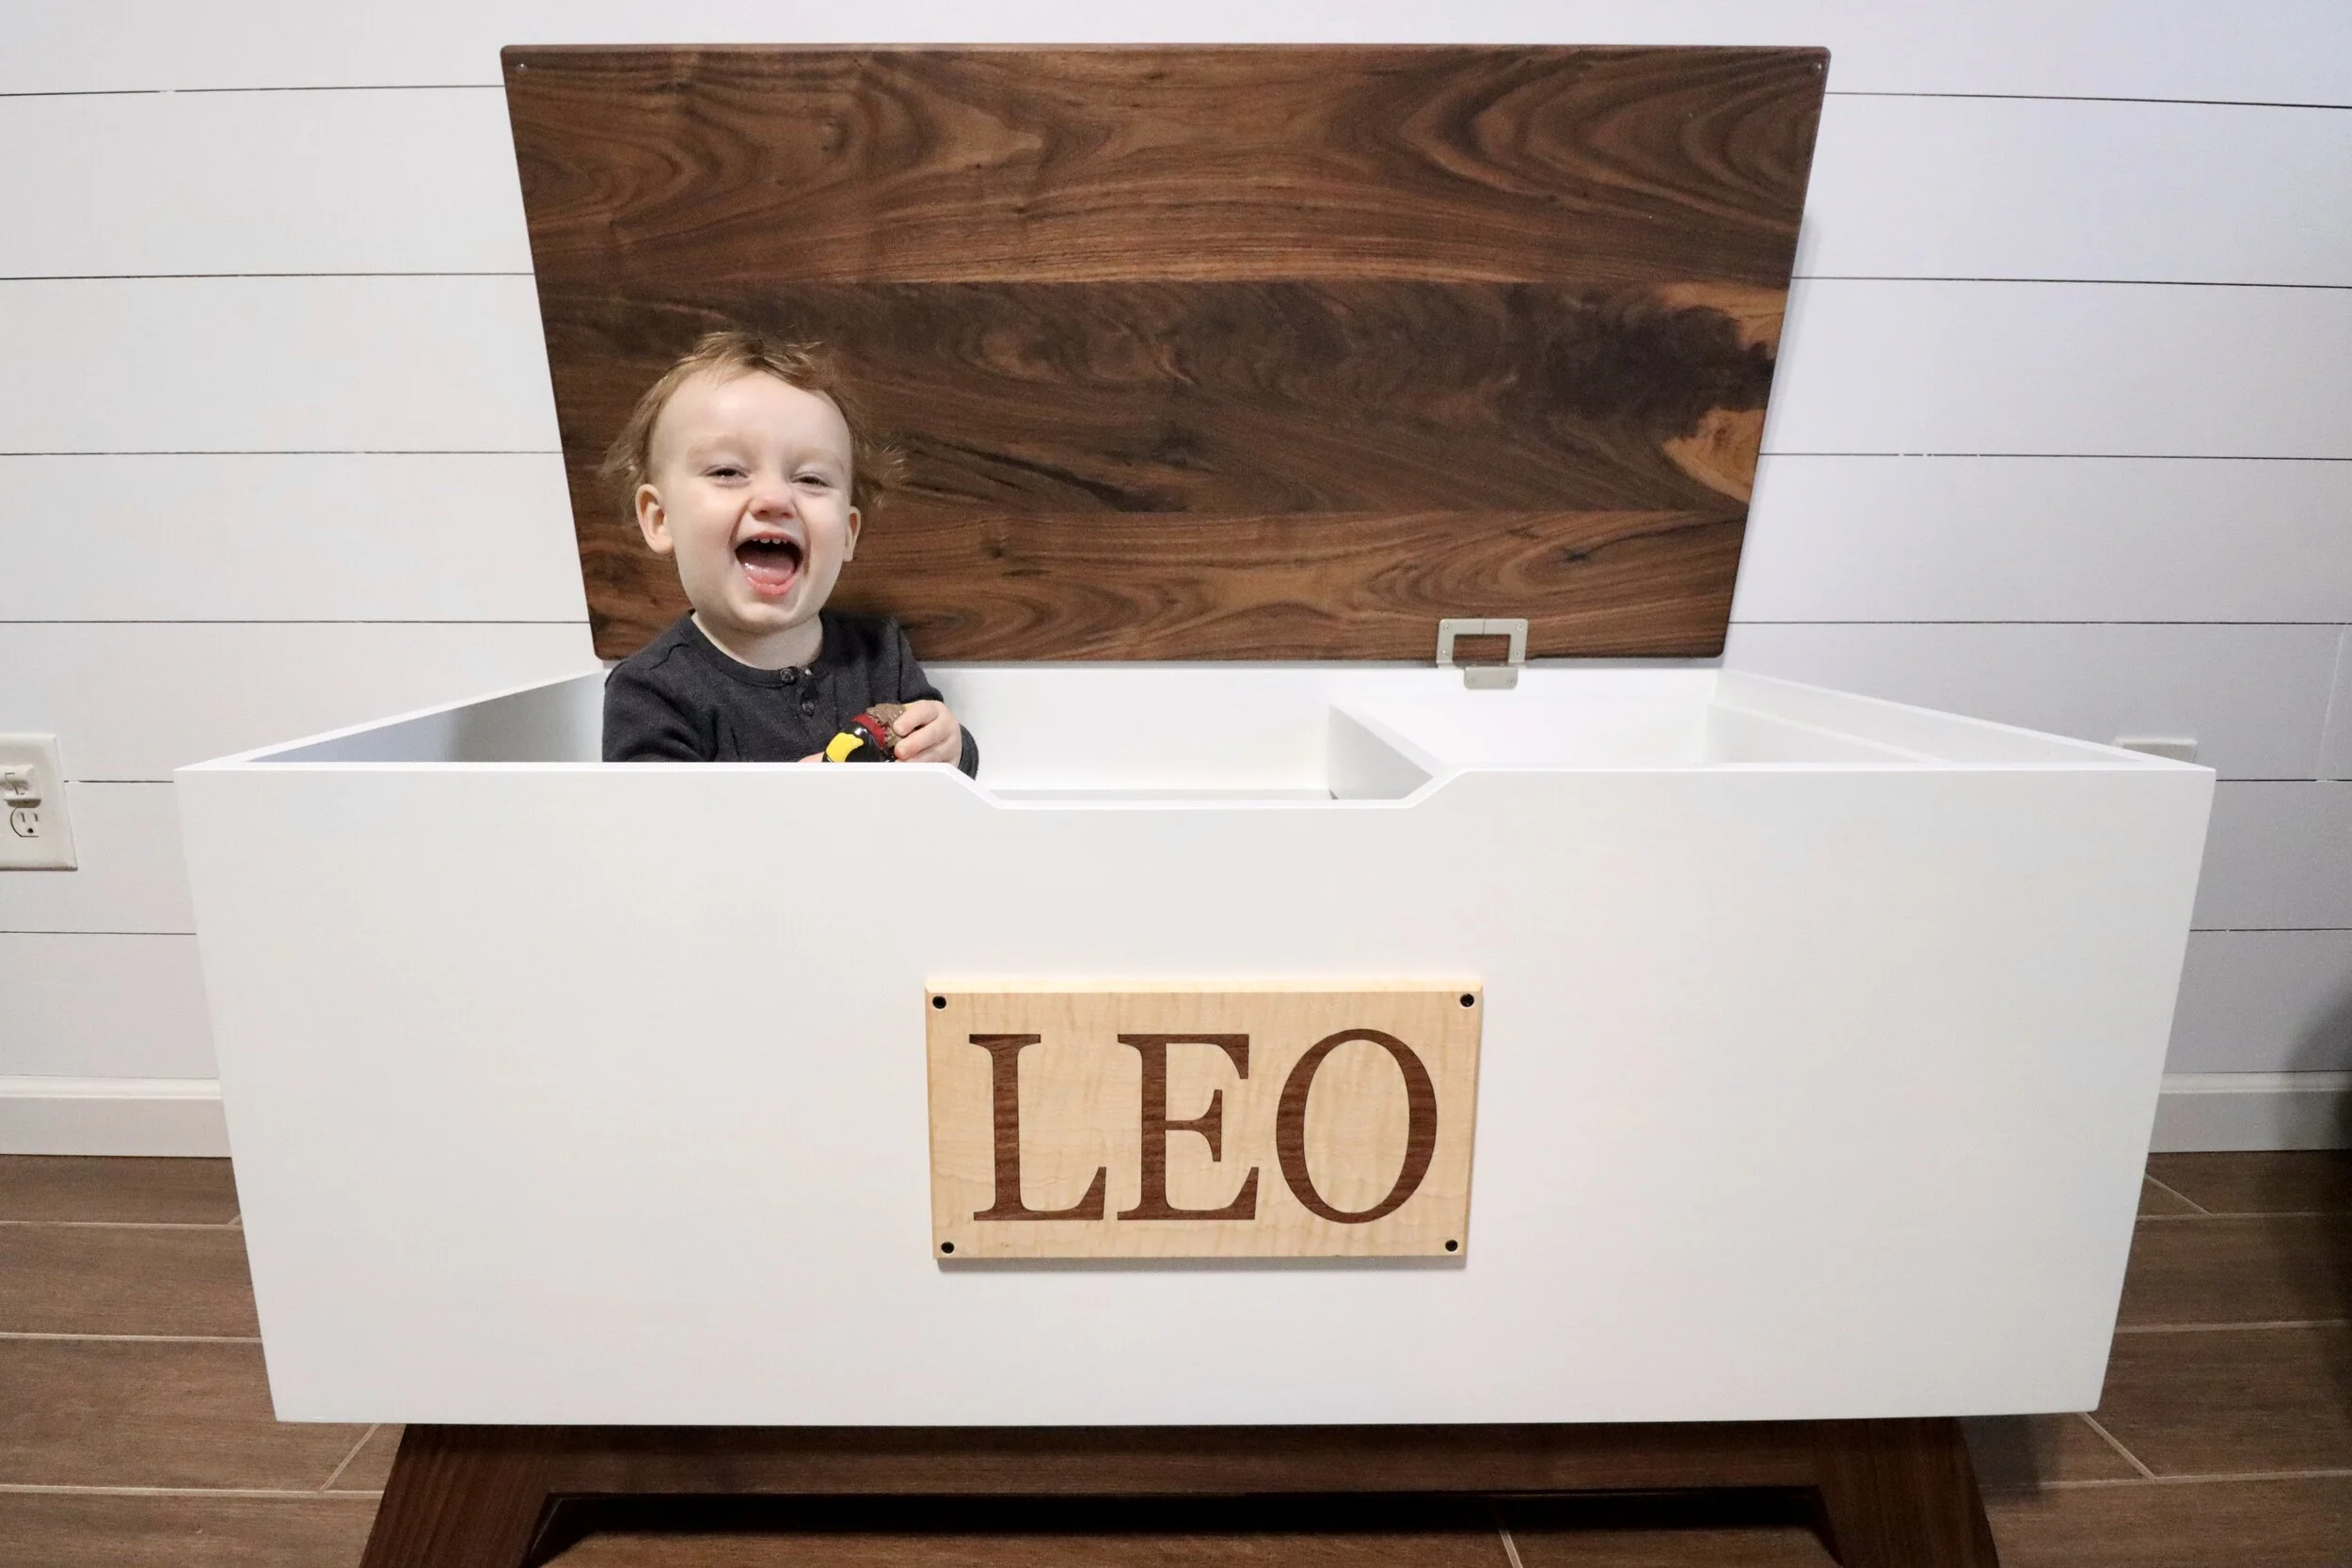
Are you tired of toys scattered all over your floor? Building a toy chest with a lid can be the perfect solution to keep your space tidy and organized.
Imagine having a sturdy, custom chest that not only stores toys but also adds charm to your room. In this guide, you’ll discover simple steps to create a toy chest that fits your needs and style. Whether you’re a beginner or have some DIY experience, you’ll find easy-to-follow tips that make the process smooth and rewarding.
Keep reading, and you’ll soon have a beautiful, functional toy chest ready to transform your space.
Materials And Tools Needed
Before you start building your toy chest with a lid, gathering the right materials and tools is key. Having everything ready keeps the project smooth and enjoyable. You’ll avoid frustrating stops and starts when you know exactly what you need.
Essential Materials
Choose wood that’s strong yet easy to work with, like pine or plywood. These options balance durability and cost, perfect for a toy chest that will last.
- Wood boards (1×12 or 3/4-inch plywood)
- Wood screws (1 1/4-inch and 2-inch sizes)
- Wood glue for extra strength
- Hinges (piano hinge or two standard hinges)
- Sandpaper (120 and 220 grit)
- Paint or wood stain and sealant
- Handles or knobs for easy opening
Required Tools
Having the right tools makes your work safer and your results better. You don’t need a full workshop, but these basics will help you build a sturdy, attractive chest.
- Measuring tape and pencil
- Power drill with drill bits
- Screwdriver (or drill with screwdriver bit)
- Hand saw or circular saw
- Clamps to hold pieces steady
- Orbital sander or sanding block
- Paintbrushes or rags for finishing
Why Quality Matters
Using good materials and the right tools affects the toy chest’s durability and safety. Have you ever seen a chest fall apart after just a few months? Avoid that by choosing quality wood and hardware.
Think about the kids who will use it—sturdy hinges and smooth edges prevent accidents. Investing time in prep means fewer fixes later on.
Choosing The Right Wood
Choosing the right wood is key to building a sturdy toy chest with a lid. The wood affects the chest’s strength, look, and safety. Picking the proper type ensures the toy chest will last long and stay safe for children.
Consider the wood’s durability and ease of use. Some woods are softer, easier to cut, and sand. Others are hard and strong but need more tools and skills. The wood should also be safe, with no harmful chemicals or sharp splinters.
Types Of Wood Suitable For A Toy Chest
- Pine:Soft, light, and easy to work with. It is affordable and widely available. Pine has a smooth finish and takes paint well.
- Poplar:A hardwood that is still easy to cut and shape. It has a fine grain and is good for painting or staining.
- Birch:Strong and durable with a smooth surface. Birch offers a nice natural look when stained.
- Maple:Very hard and durable. It resists dents and scratches well but can be harder to work with.
Wood Safety For Children’s Toys
- Choose wood with no toxic finishes or treatments.
- Avoid woods that cause allergic reactions or have strong odors.
- Sand all surfaces smooth to prevent splinters.
- Use non-toxic paint or sealants for the final finish.
Wood Grain And Appearance
The wood grain affects the chest’s style. Straight grain looks clean and simple. Knotty grain adds a rustic feel. Pick the wood grain that fits your design idea.
Cost And Availability
Check local stores for wood prices and types. Some woods cost more but last longer. Balance cost and quality to fit your budget.
Measuring And Cutting The Pieces
Measuring and cutting the pieces is the first crucial part of building a toy chest with a lid. Accurate measurements ensure all parts fit perfectly. Proper cutting helps the chest look neat and sturdy. Take your time to measure carefully and cut precisely.
Use a tape measure and pencil to mark the wood. Double-check each measurement before cutting. This prevents mistakes and wasted materials. Cut the pieces on a flat surface with a saw suited for your wood type. Smooth any rough edges with sandpaper for safety and a clean finish.
Choosing The Right Wood Dimensions
Select wood pieces that fit your design size. Standard plywood sheets often work well. Typical dimensions include:
- Sides: 12 inches high by 18 inches wide
- Bottom: 18 inches by 24 inches
- Lid: 18 inches by 24 inches, slightly larger for overlap
Adjust sizes based on your available space and storage needs.
Marking And Measuring Tools
Use these tools to get precise measurements:
- Tape measure for length and width
- Carpenter’s square for right angles
- Pencil for marking cut lines
- Clamps to hold wood steady while marking or cutting
Keep your marks clear and straight for easier cutting.
Cutting Techniques And Safety Tips
Use a circular saw or handsaw for straight cuts. Follow these tips:
- Cut slowly to avoid splintering
- Wear safety goggles and gloves
- Secure wood firmly with clamps
- Use a guide or straight edge for clean lines
Check each piece after cutting to ensure it matches your measurements.
Assembling The Chest Frame
Building a toy chest begins with assembling the frame. This part is crucial because a sturdy frame ensures the chest will last through years of play and storage. Focusing on precise assembly here saves you time and frustration later.
Gathering And Preparing Your Materials
Start by collecting all the wood pieces cut to size. Check each piece for smooth edges and sand any rough spots to avoid splinters. Having everything ready before you start assembly helps keep the process smooth and efficient.
Connecting The Side Panels
Align the side panels carefully to ensure the chest will be square. Use clamps to hold the panels steady while you drill pilot holes. This prevents the wood from splitting and makes screwing easier.
Attaching The Bottom Panel
Position the bottom panel inside the frame, making sure it fits snugly. Secure it with screws along the edges, spacing them evenly for even support. This panel needs to be strong since it holds all the toys.
Checking For Stability And Adjustments
Once the frame is assembled, test its stability by gently shaking it. If you notice any wobble, tighten screws or add corner braces for extra strength. A solid foundation here will make adding the lid much easier.
Building And Attaching The Lid
Cut the lid to fit the toy chest’s top precisely. Attach with strong hinges for smooth opening and closing. Ensure the lid aligns evenly for safety and a neat finish.
Building and attaching the lid of a toy chest is a key step. It ensures the safety and functionality of your toy chest. A well-made lid protects toys and keeps them organized.
Choosing The Right Material For The Lid
Select a sturdy wood like pine or plywood. This provides durability and a smooth finish. Measure the top of the chest to cut the lid to size. Make sure it fits snugly, avoiding any gaps.
Cutting The Lid To Size
Use a saw to cut the wood according to your measurements. Check the edges to ensure they are smooth and even. Sand any rough spots to avoid splinters.
Attaching Hinges To The Lid
Position hinges evenly on the lid’s back edge. Mark screw holes with a pencil. Drill small pilot holes to make screwing easier. Attach the hinges with screws, ensuring they are tight.
Securing The Lid To The Toy Chest
Align the lid with the chest, ensuring it sits flat. Mark hinge locations on the chest. Drill pilot holes for screws on the chest. Attach the lid by screwing the hinges onto the chest.
Adding A Safety Lid Support
Install a safety lid support to prevent slamming. This keeps little fingers safe. Attach the support inside the chest, following manufacturer instructions. Check that it holds the lid open securely.
Testing The Lid’s Movement
Open and close the lid several times. Ensure smooth movement without obstruction. Adjust hinges if necessary for proper alignment. These steps ensure a functional and safe toy chest lid. Proper installation enhances durability and ease of use.
Sanding And Smoothing Surfaces
Sanding and smoothing the surfaces of your toy chest is essential for both safety and aesthetics. Rough edges or splinters can cause injuries, especially when children are involved. Taking the time to properly sand ensures a smooth finish that looks professional and feels great to touch.
Sanding Tools And Grit Selection
Choosing the right sanding tools affects the outcome significantly. Start with a coarser grit sandpaper, such as 80 or 100, to remove any large bumps or imperfections.
Then, switch to finer grits like 150 and 220 for a smooth, polished finish. Hand sanding works well for corners and detailed areas, while a power sander speeds up flat surfaces.
Techniques For Smooth Edges And Corners
Edges and corners often get overlooked but require special attention. Sand these areas gently to avoid rounding them off too much while removing sharpness.
Using a sanding sponge or folded sandpaper helps you maintain control and reach tight spots. Can you feel how much safer those edges become after just a few passes?
Checking Your Work For Flaws
After sanding, run your hand over the entire surface to detect rough patches or splinters. Good lighting helps you spot uneven spots or scratches that need more attention.
If you find any imperfections, sand again with a finer grit until the surface feels completely smooth. This step saves you from frustration later when painting or staining.
Adding Hinges And Safety Features
Adding hinges and safety features is vital for a toy chest with a lid. Hinges allow the lid to open and close smoothly. Safety features prevent accidents, especially with children around. Proper installation keeps the lid secure and easy to use.
Choosing the right hinges affects the chest’s durability. Safety features protect little fingers from getting hurt. Let’s explore how to add hinges and safety parts effectively.
Choosing The Right Hinges For Your Toy Chest
Select hinges made of strong metal like steel or brass. These hold the lid firmly and last longer. Consider hinges with a soft-close function. They stop the lid from slamming shut suddenly.
- Measure the lid and chest for hinge size.
- Pick hinges that fit the wood thickness.
- Use screws that match the hinge holes.
Installing Hinges Safely And Securely
Mark hinge positions carefully on both the lid and chest. Pre-drill holes to avoid wood splitting. Attach hinges with screws, tightening them firmly but gently. Check the lid’s movement to ensure smooth opening.
Adding Safety Features To Protect Little Hands
Install a lid support or stay to hold the lid open. This prevents the lid from falling suddenly. Use a soft-close hinge or a slow-close mechanism. Add finger guards or a rubber bumper inside the lid edge. These stop fingers from getting pinched.
- Use a lid stay or support arm.
- Attach rubber bumpers along the lid’s edge.
- Choose slow-close or soft-close hinges.

Credit: www.ana-white.com
Painting And Finishing Touches
Choose paint that suits your room’s style and protect the wood with a clear finish. Smooth strokes and even coats make the toy chest look neat and last longer. Let each layer dry fully before adding the next for the best results.
Painting and finishing touches are the final steps in building a toy chest, but they are by no means the least important. These steps not only enhance the visual appeal of your creation but also ensure its durability. Adding a splash of color and a protective finish can make a plain wooden box a cherished piece in any child’s room.
Choosing The Right Paint
Selecting the right paint is crucial for both aesthetics and safety. Opt for non-toxic, child-safe paints, especially if the toy chest is for a young child. Consider colors that match the room’s decor or let your child pick their favorite hue to make it more personal.
Preparing The Surface
Before painting, ensure the surface is smooth and dust-free. Sand the wood lightly to remove any rough spots or splinters. Wipe it down with a damp cloth to eliminate any remaining dust particles. This preparation is key to achieving a flawless finish.
Applying The Paint
Use a brush or roller to apply the paint evenly across the surface. Apply thin layers to prevent drips and allow each coat to dry completely before adding another. This patience will pay off with a smooth and professional-looking finish.
Adding Decorative Elements
Consider adding stencils or decals for a playful touch. You might paint your child’s name or favorite characters on the chest. This not only personalizes the chest but also adds an element of fun and creativity.
Sealing The Paint
Once satisfied with the paint job, apply a clear sealant to protect the paint and wood. Choose a water-based, non-toxic sealant for safety. This final step ensures the toy chest withstands the test of time and active play.
Inspecting The Finished Product
After the sealant dries, inspect your work for any touch-ups needed. Look for missed spots or uneven areas and address them promptly. This final inspection guarantees that your toy chest is ready for use and admiration. Building a toy chest is a rewarding project, and the painting and finishing touches are where your creation truly comes to life. What unique designs will you add to make your toy chest stand out?
Tips For Customizing Your Toy Chest
Customizing your toy chest lets you create a piece that fits perfectly with your child’s personality and your home’s style. It also makes the chest more functional and fun. Think about what features your family truly needs and what colors or themes will make tidying up a joy rather than a chore.
Choosing The Right Paint And Finish
Pick paint that’s safe and durable, especially if your child will be using the chest frequently. Matte finishes hide scratches better, while glossy ones are easier to clean. Consider vibrant colors or patterns that match your child’s room or favorite themes to add a personal touch.
Adding Practical Storage Features
Think beyond just a simple box. Adding compartments or dividers inside the chest can help keep smaller toys organized. You might also attach hooks or small baskets on the inside of the lid for extra storage.
Personalizing With Names And Decals
Adding your child’s name with stencils or decals makes the toy chest feel truly theirs. You can also use stickers or decals of characters and shapes your child loves to spark excitement about clean-up time. This small detail often encourages kids to take care of their toys.
Incorporating Safety Measures
Consider installing soft-close hinges on the lid to prevent little fingers from getting pinched. Smooth out all edges and corners to keep the chest safe for your child to use. Safety doesn’t have to be boring; it can be part of your design creativity.
Making It Multi-functional
Have you thought about turning the lid into a bench? Adding a cushioned top can create a cozy reading nook or a place for your child to sit while playing. This extra function makes the toy chest even more valuable in your living space.

Credit: www.ana-white.com
Maintaining And Caring For The Toy Chest
Keeping your toy chest in great shape means it will last longer and stay safe for your kids. Regular care prevents wear and tear, and a little attention goes a long way. You might be surprised how easy it is to keep your chest looking fresh and working smoothly.
Cleaning The Surface Safely
Use a soft, damp cloth to wipe down the toy chest’s surface. Avoid harsh chemicals that can damage the wood or paint finish. If you notice sticky spots or stains, a mild soap solution works well without harming the material.
Have you checked your toy chest for dust buildup in the corners? Dust can scratch surfaces over time, so quick, regular dusting helps maintain that smooth look.
Checking And Tightening Hardware
Inspect hinges, handles, and screws regularly. Loose hardware can cause the lid to misalign or become unsafe. Tighten screws with a screwdriver and replace any broken parts immediately to avoid accidents.
Think about how often you open and close the lid daily—does it feel loose or noisy? Fixing those small problems early prevents bigger repairs later.
Protecting The Wood From Damage
Apply a wood conditioner or beeswax polish every few months to keep the wood hydrated and prevent cracking. Avoid placing the toy chest in direct sunlight or near heat sources, as this can dry out and warp the wood.
Have you noticed any rough spots or splinters? Sand these areas lightly with fine-grit sandpaper and reapply finish to keep the surface smooth and safe for little hands.
Maintaining Safety Features
Make sure the lid stays open when lifted by checking the support hinges or lid stays. This prevents it from accidentally slamming shut on fingers. If your chest doesn’t have this feature, consider adding soft-close hinges or a lid support for extra safety.
Could your toy chest use a child-proof lock or ventilation holes? These small adjustments improve safety and comfort, especially if you store toys with small parts or fabrics inside.

Credit: www.ana-white.com
Frequently Asked Questions
How Do I Start Building A Toy Chest With A Lid?
Begin by selecting quality wood and gathering tools like saw, drill, and screws. Measure and cut pieces precisely for the base, sides, and lid. Assemble the frame first, then attach the lid using hinges for smooth opening and closing.
What Materials Are Best For A Durable Toy Chest?
Use hardwoods like oak or maple for strength and durability. Plywood can be a budget-friendly option but ensure it’s thick and sturdy. Choose non-toxic paint or finish to keep the chest safe for children.
How Do I Ensure The Lid Is Safe For Kids?
Install soft-close or slow-release hinges to prevent the lid from slamming. Add a ventilation gap to avoid suffocation risks. Sand all edges smooth and use child-safe finishes to protect little hands.
Can I Customize The Toy Chest Design Easily?
Yes, customize by choosing paint colors, adding decals, or carving designs. Adjust dimensions to fit your space or storage needs. Personal touches make the chest unique and fun for kids.
Conclusion
Building a toy chest with a lid is a useful and fun project. It helps keep toys neat and rooms tidy. You only need some basic tools and simple steps. Taking your time makes the chest stronger and safer. A well-made chest lasts long and looks great.
Enjoy making a special storage space for toys. Your kids will love having a place to put their things. Try this project to add a personal touch to your home. Simple, practical, and rewarding.